
简介
在本实验中,你将探索 Python 编程中的两个基本概念:函数和模块。函数允许你将代码组织成可重用的代码块,使程序更加模块化且易于理解。模块则允许你将相关的函数和变量组织到独立的文件中,从而提升代码的可重用性和可维护性。掌握这些概念后,你将能够编写出更高效、更有条理的 Python 代码。
定义并使用函数
在这一步中,你将学习如何在 Python 中定义和使用函数。
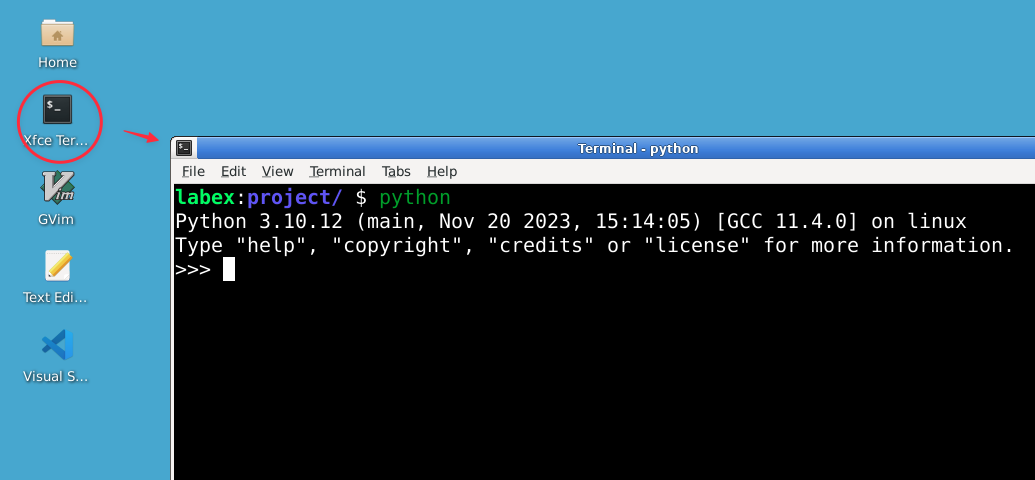
在终端输入以下命令打开 Python 解释器:
python
你应该能看到 Python 提示符 (>>>),这表示你现在处于 Python 交互式 shell 中。
首先,我们来定义一个简单的问候函数。在 Python 解释器中,先输入函数定义:
def greet(name):
    return f"Hello, {name}!"
输入完缩进的 return 行后,按一次回车键留出一个空行,以结束函数定义。然后在同一个解释器中运行该函数:
result = greet("Alice")
print(result)
你应该会看到以下输出:
Hello, Alice!
函数使用 def 关键字定义,后跟函数名和括号内的参数。函数体需要缩进。
此函数接收一个 name 参数并返回一个问候字符串。我们随后使用参数 "Alice" 调用该函数并打印结果。
return 语句用于从函数返回一个值。如果没有 return 语句,函数将返回 None。
函数可用于封装可重用的代码并执行特定任务,它是 Python 程序的主要构建块。
现在,让我们创建一个执行计算的函数。先定义函数:
def calculate_area(length, width):
    return length * width
按回车键留出空行以结束定义,然后调用该函数:
area = calculate_area(5, 3)
print(f"The area is: {area}")
你应该会看到以下输出:
The area is: 15
此函数根据给定的长和宽计算矩形的面积。
函数还可以拥有默认参数值。先定义函数:
def power(base, exponent=2):
    return base ** exponent
按回车键留出空行,然后测试两种调用方式:
print(power(3))
print(power(3, 3))
你应该会看到以下输出:
9
27
在这里,如果没有提供指数,函数将使用 2 作为默认值。
函数可以使用元组返回多个值。先定义函数:
def min_max(numbers):
    return min(numbers), max(numbers)
按回车键留出空行,然后调用该函数:
minimum, maximum = min_max([1, 5, 3, 9, 2])
print(f"Minimum: {minimum}, Maximum: {maximum}")
你应该会看到以下输出:
Minimum: 1, Maximum: 9
此函数返回数字列表中的最小值和最大值。
请记住,缩进在 Python 中至关重要。函数体必须保持一致的缩进。
理解函数作用域
在这一步中,你将学习函数作用域,以及变量在函数内外是如何表现的。
在 Python 解释器中,让我们探索局部变量和全局变量:
x = 10  ## 全局变量

def print_x():
    print(f"Global x: {x}")

print_x()

def change_x():
    x = 20  ## 局部变量
    print(f"Local x: {x}")

change_x()
print(f"Global x after change_x(): {x}")
你应该会看到以下输出:
Global x: 10
Local x: 20
Global x after change_x(): 10
注意,change_x() 函数创建了一个新的局部变量 x,它不会影响全局变量 x。
要在函数内部修改全局变量,请使用 global 关键字:
def modify_global_x():
    global x
    x = 30
    print(f"Modified global x: {x}")

modify_global_x()
print(f"Global x after modify_global_x(): {x}")
你应该会看到以下输出:
Modified global x: 30
Global x after modify_global_x(): 30
现在全局变量 x 已经被修改了。
函数还可以访问其封闭作用域中的变量:
def outer_function(x):
    def inner_function():
        print(f"x from outer function: {x}")
    inner_function()

outer_function(40)
你应该会看到以下输出:
x from outer function: 40
内部函数可以访问外部函数的 x 参数。
理解函数作用域对于编写整洁且无 bug 的代码至关重要。它有助于防止意外的副作用,并使你的函数更具可预测性。
创建并使用模块
在这一步中,你将学习如何创建和使用 Python 模块。
输入 exit() 或按 Ctrl+D 退出 Python 解释器。
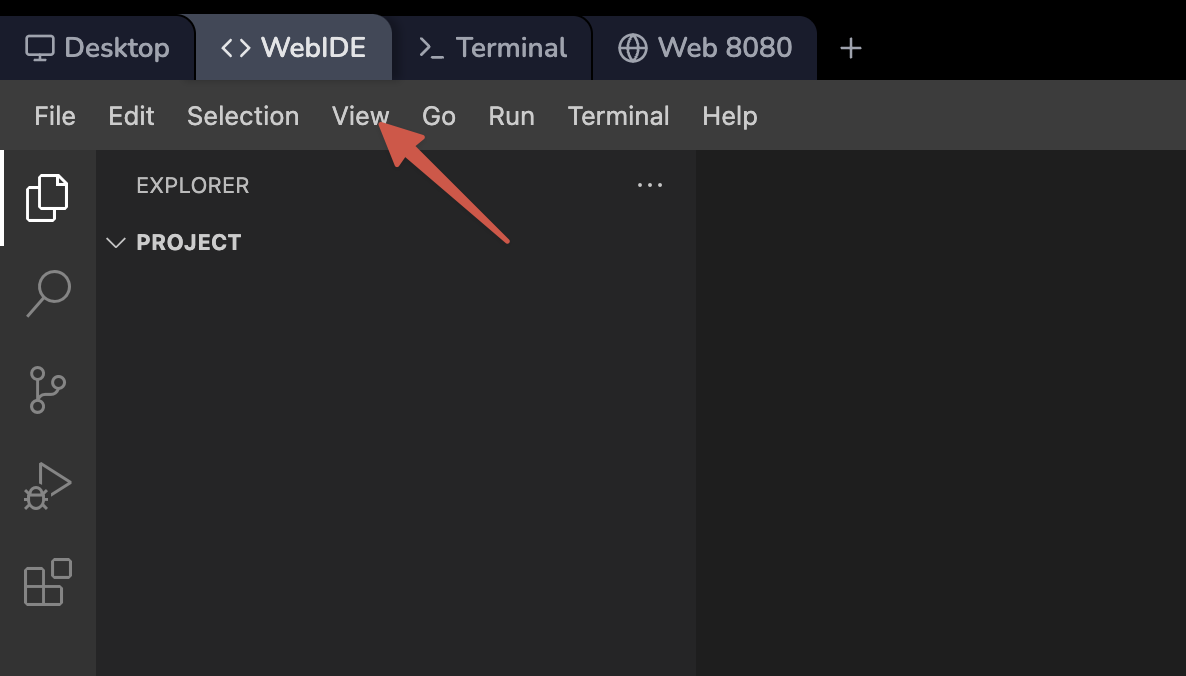
在 LabEx VM 环境中打开 WebIDE。
在 ~/project 目录下创建一个名为 math_operations.py 的新文件:
touch ~/project/math_operations.py
在 WebIDE 编辑器中打开刚创建的文件,并添加以下内容:
## math_operations.py

def add(a, b):
      return a + b

def subtract(a, b):
      return a - b

def multiply(a, b):
      return a * b

def divide(a, b):
      if b != 0:
         return a / b
      else:
         return "Error: Division by zero"

PI = 3.14159
该模块包含四个基本的数学运算和一个常量 PI。
保存文件(WebIDE 已开启自动保存)。
现在,在同一目录下创建另一个名为 use_math_module.py 的文件:
touch ~/project/use_math_module.py
在 WebIDE 编辑器中打开 use_math_module.py 并添加以下内容:
## use_math_module.py

import math_operations

result_add = math_operations.add(5, 3)
result_subtract = math_operations.subtract(10, 4)
result_multiply = math_operations.multiply(2, 6)
result_divide = math_operations.divide(15, 3)

print(f"Addition: {result_add}")
print(f"Subtraction: {result_subtract}")
print(f"Multiplication: {result_multiply}")
print(f"Division: {result_divide}")
print(f"Value of PI: {math_operations.PI}")
此脚本导入了 math_operations 模块,并使用了其中的函数和常量。
保存文件,并在终端中使用以下命令运行它:
python ~/project/use_math_module.py
你应该会看到类似以下的输出:
Addition: 8
Subtraction: 6
Multiplication: 12
Division: 5.0
Value of PI: 3.14159
通过创建模块,你可以将相关的函数和变量组织到独立的文件中,使代码更易于维护和重用。
当你导入一个模块时,Python 会将其编译为字节码,并将编译后的代码存储在 __pycache__ 目录中。该目录创建在模块文件所在的同一位置,包含编译后的字节码文件(.pyc 或 .pyo)。
你可以放心地忽略此目录,因为 Python 会自动处理模块的编译和缓存。
从模块中导入特定函数
在这一步中,你将学习如何从模块中导入特定函数,并使用别名使代码更简洁。
在 ~/project 目录下创建一个名为 advanced_math.py 的新文件:
touch ~/project/advanced_math.py
在 WebIDE 编辑器中打开 advanced_math.py 并添加以下内容:
## advanced_math.py

import math

def square_root(x):
      return math.sqrt(x)

def power(base, exponent):
      return math.pow(base, exponent)

def sin(angle):
      return math.sin(math.radians(angle))

def cos(angle):
      return math.cos(math.radians(angle))
该模块使用了 Python 内置的 math 模块来提供更高级的数学运算。
现在,在同一目录下创建一个名为 use_advanced_math.py 的文件:
touch ~/project/use_advanced_math.py
在 WebIDE 编辑器中打开 use_advanced_math.py 并添加以下内容:
## use_advanced_math.py

from advanced_math import square_root, power
from advanced_math import sin as sine, cos as cosine

x = 16
y = 2
angle = 30

print(f"Square root of {x}: {square_root(x)}")
print(f"{x} to the power of {y}: {power(x, y)}")
print(f"Sine of {angle} degrees: {sine(angle)}")
print(f"Cosine of {angle} degrees: {cosine(angle)}")
此脚本从 advanced_math 模块导入了特定函数,并为 sin 和 cos 使用了别名。
保存文件,并在终端中使用以下命令运行它:
python ~/project/use_advanced_math.py
你应该会看到类似以下的输出:
Square root of 16: 4.0
16 to the power of 2: 256.0
Sine of 30 degrees: 0.49999999999999994
Cosine of 30 degrees: 0.8660254037844387
通过导入特定函数并使用别名,你可以使代码更具可读性,并避免不同模块之间的命名冲突。
创建包
在最后一步中,你将学习如何创建包,这是一种将相关模块组织成目录层次结构的方法。
在 ~/project 目录下创建一个名为 geometry 的新目录:
mkdir ~/project/geometry
在 geometry 目录下,创建两个文件:__init__.py 和 shapes.py:
touch ~/project/geometry/__init__.py
touch ~/project/geometry/shapes.py
__init__.py 文件是必需的,它让 Python 将该目录视为一个包。它可以为空,也可以包含包的初始化代码。
在 WebIDE 编辑器中打开 shapes.py 并添加以下内容:
## geometry/shapes.py

import math

def circle_area(radius):
      return math.pi * radius ** 2

def rectangle_area(length, width):
      return length * width

def triangle_area(base, height):
      return 0.5 * base * height
现在,在 ~/project 目录下创建一个名为 use_geometry_package.py 的文件:
touch ~/project/use_geometry_package.py
在 WebIDE 编辑器中打开 use_geometry_package.py 并添加以下内容:
## use_geometry_package.py

from geometry.shapes import circle_area, rectangle_area, triangle_area

radius = 5
length = 4
width = 6
base = 3
height = 8

print(f"Area of circle with radius {radius}: {circle_area(radius):.2f}")
print(f"Area of rectangle with length {length} and width {width}: {rectangle_area(length, width)}")
print(f"Area of triangle with base {base} and height {height}: {triangle_area(base, height)}")
保存文件,并在终端中使用以下命令运行它:
python ~/project/use_geometry_package.py
你应该会看到类似以下的输出:
Area of circle with radius 5: 78.54
Area of rectangle with length 4 and width 6: 24
Area of triangle with base 3 and height 8: 12.0
通过创建包,你将相关的模块组织成了目录层次结构,从而更轻松地管理和导入项目中的相关功能。
总结
在本实验中,你探索了 Python 编程中的两个基本概念:函数和模块。你学习了如何定义和使用函数、理解函数作用域、创建和使用模块、从模块中导入特定函数,以及将相关模块组织成包。
你从创建简单的函数开始,逐步深入到函数作用域和全局变量等更复杂的概念。随后,你学习了如何创建模块,将相关的函数和变量组织到独立的文件中,使代码更易于维护和重用。
你探索了从模块导入函数的不同方式,包括导入特定函数和使用别名。这些知识使你能够编写更简洁、可读性更强的代码,同时避免不同模块之间的命名冲突。
最后,你学习了如何创建包,这是一种将相关模块组织成目录层次结构的方法。这对于需要管理多个相关模块的大型项目特别有用。
函数和模块的概念对于编写组织良好、高效且可重用的 Python 代码至关重要。随着你 Python 学习之旅的深入,你会发现这些技能对于构建更复杂的程序和进行大型项目协作是必不可少的。请记得定期练习这些概念,并探索 Python 庞大的模块和包生态系统,以增强你的编程能力。


