
Introduction
In this lab, you will learn to capture live network traffic using Wireshark's command-line tool tshark. You'll practice identifying network interfaces with -D, selecting an interface like eth1 using -i, and capturing packets with default settings.
The lab guides you through saving captures to a pcap file using -w for later analysis. These fundamental skills are essential for network troubleshooting and traffic monitoring in real-world scenarios.
List Interfaces with -D
In this step, you will learn how to list available network interfaces using Wireshark's command-line tool tshark. Network interfaces are the physical or virtual points where your computer connects to a network. Before capturing network traffic, it's crucial to identify which interfaces are active on your system because different interfaces handle different types of network traffic.
- First, open the terminal in your LabEx VM environment. The terminal is your gateway to interacting with the Linux system through commands. The default working directory is
~/project, which means any files you create will be saved here unless you specify otherwise.
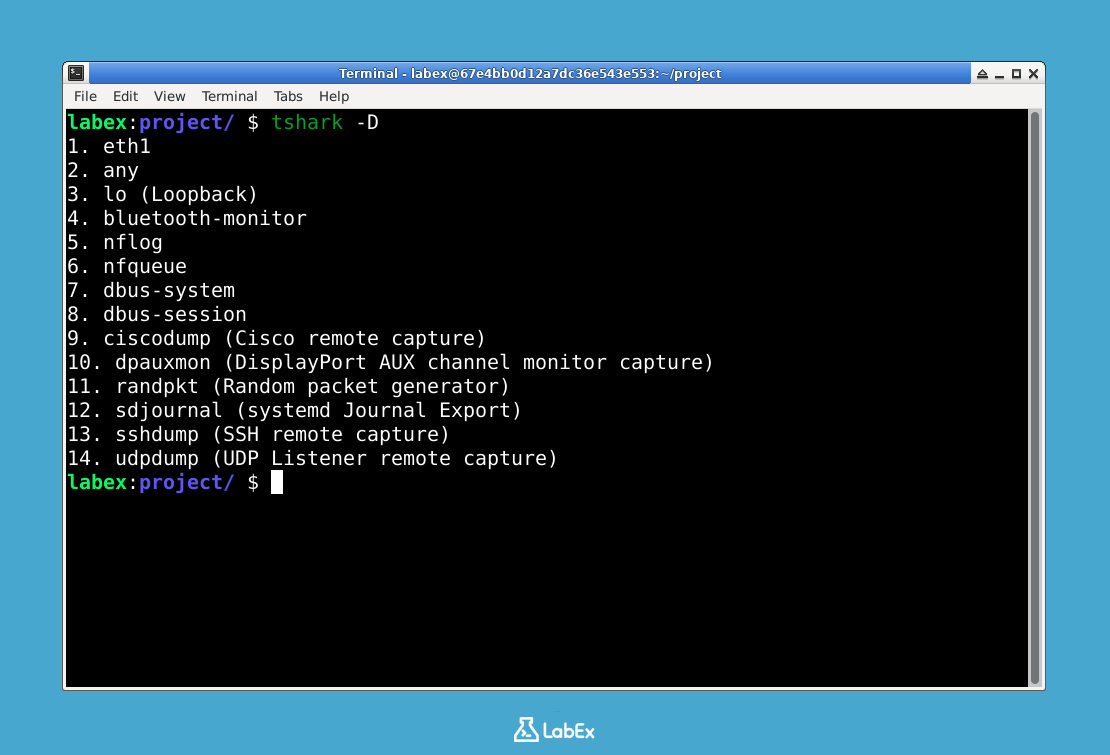
- To list all available network interfaces, run the following command:
tshark -D
- The command will display output showing all capture-capable network interfaces. A typical output looks like this:
1. eth1
2. any
3. lo (Loopback)
4. nflog
5. nfqueue
6. docker0
The
-Dflag is a specific command option that instructstsharkto display available interfaces. Each interface serves a distinct purpose:eth1: This is usually your primary wired network interface, handling most external network communicationslo: The loopback interface processes internal network traffic within your own machineany: A special virtual interface that captures traffic from all available interfaces simultaneously
Take a moment to examine the interface list carefully. You'll need to reference these interface names later when we start capturing packets, as you must specify exactly which network interface's traffic you want to monitor. The numbering helps when selecting interfaces in subsequent commands.
Select Interface with -i eth1
In this step, you will learn how to select a specific network interface for packet capture using Wireshark's tshark tool. Network interfaces are the physical or virtual points where your computer connects to a network. The eth1 interface is usually the first Ethernet port on Linux systems and handles most external network traffic.
- First, ensure you're in the correct working directory where we'll store our capture files:
cd ~/project
- To start capturing packets specifically on the
eth1interface, execute this command:
sudo tshark -i eth1
Let's understand what each part of this command does:
sudo: Gives you administrator privileges needed to access network interfacestshark: The command-line version of Wireshark-i eth1: Tells tshark to listen on the eth1 interface (change this if your system uses different interface names)
When running, you'll see live network traffic displayed in your terminal like this:
Capturing on 'eth1'
1 0.000000000 192.168.1.100 → 192.168.1.1 TCP 74 55942 → 80 [SYN] Seq=0 Win=64240 Len=0
2 0.000123456 192.168.1.1 → 192.168.1.100 TCP 74 80 → 55942 [SYN, ACK] Seq=0 Ack=1 Win=65535 Len=0
Each line represents a network packet showing source/destination IPs, protocol type, and other technical details.
To stop capturing packets, press
Ctrl+C. The terminal will then display summary statistics about the captured traffic.Important notes for beginners:
eth1is the default name for the first Ethernet interface on most Linux systems- Always use the exact interface name you found when listing interfaces
sudois required because capturing network traffic needs special permissions- The output shows real network communications happening on your system
Start Capture with Default Settings
In this step, you will learn how to start a basic packet capture using Wireshark's tshark with default settings. This builds on the previous steps where you identified interfaces and selected eth1. We'll begin by capturing all network traffic flowing through the eth1 interface, which is typically the first Ethernet interface on Linux systems.
- First, ensure you're in the correct working directory where we'll store our capture files:
cd ~/project
- To start capturing packets with default settings on the
eth1interface, run:
sudo tshark -i eth1
The sudo command is necessary because capturing network traffic requires root privileges. The -i eth1 flag tells tshark to listen specifically on the eth1 network interface.
Key aspects of this command:
- Captures all packet types (TCP, UDP, ICMP, etc.) that pass through eth1
- Shows packet summaries in real-time as they're captured
- Uses default capture filters (captures all traffic without filtering)
- Displays basic packet information including:
- Packet number (sequential count starting from 1)
- Timestamp (showing when each packet was captured)
- Source and destination IPs (showing where traffic is coming from and going to)
- Protocol (identifying the type of network protocol)
- Basic info about the packet contents
You should see output similar to:
1 0.000000000 192.168.1.100 → 8.8.8.8 DNS 74 Standard query
2 0.000123456 8.8.8.8 → 192.168.1.100 DNS 90 Standard query response
Each line represents one network packet. The arrow (→) shows the direction of traffic flow between source and destination IP addresses.
To temporarily pause the output (without stopping capture), press
Ctrl+S. PressCtrl+Qto resume. This is useful when you want to examine specific packets without new ones scrolling by too quickly.Remember these important points about this basic capture:
- Default capture shows only packet headers (not full payload) to keep the display manageable
- Capture continues until you stop it with
Ctrl+C - No packets are being saved to disk yet (we'll cover that in the next step)
- The terminal output is just a live view - we're not storing this information permanently yet
Stop and Save to File with -w capture.pcap
In this step, you will learn how to properly stop a packet capture session and save the captured packets to a file for later analysis. This completes our basic Wireshark/tshark workflow. Saving packets to a file is essential when you need to analyze network traffic at a later time or share the data with colleagues.
- First, ensure you're in the correct working directory where you want to save your capture file. The ~/project directory is commonly used for lab exercises:
cd ~/project
- To start a new capture session that will automatically save packets to a file, run this command. The -w flag tells tshark where to store the captured data:
tshark -i eth1 -w capture.pcap
Let's break down the key aspects of this command:
-w capture.pcap: Specifies the output file name and saves packets in standard PCAP format- The file will be created in your current working directory (~/project)
- Unlike live monitoring, this command runs silently without screen output while saving to file
Important Note About Permissions:
- Do not use
sudowith this command (e.g.,sudo tshark -i eth1 -w capture.pcap) - The
~/projectdirectory has specific permissions that restrict access, including root access - Running with
sudowill result in a "Permission denied" error - Use the command without
sudoto ensure proper file creation with correct permissions
Let the capture run for about 30 seconds to collect meaningful network traffic. This duration allows you to capture various types of packets without creating an excessively large file.
To gracefully stop the capture and finalize the file, press
Ctrl+C. The terminal will display summary information about your capture session:
^CCapturing on 'eth1'
45 packets captured
- Verify your capture file was created successfully by listing directory contents. The -lh flags show the file size in human-readable format:
ls -lh capture.pcap
- You should see output similar to this, showing the file was created with proper permissions and contains captured data:
-rw-r--r-- 1 labex labex 12K Aug 10 15:30 capture.pcap
- Important notes about working with PCAP files:
- PCAP files can be analyzed later with Wireshark GUI or tshark commands
- File size increases with capture duration - be mindful of disk space
- Use unique filenames for separate capture sessions to avoid overwriting
- The .pcap extension is standard for packet capture files
Summary
In this lab, you have learned how to capture live network traffic using Wireshark's command-line tool tshark. You practiced listing available interfaces with -D flag and capturing packets on specific interfaces using -i parameter, while observing key network details like IP addresses and protocols.
The exercise provided hands-on experience with fundamental tshark commands, including proper usage of sudo permissions and basic capture controls. These essential skills form the basis for more advanced network analysis and troubleshooting tasks.

