
Introduction
In this lab, you'll learn how to configure and deploy a LAMP (Linux, Apache, MySQL, PHP) stack to create a dynamic web server. LAMP is a widely used open-source web server environment that combines the Linux operating system, Apache HTTP server, MySQL database, and PHP scripting language. These components form a powerful platform for building web applications. In this lab, we'll set up a LAMP server and deploy a WordPress blog to understand how this stack works.
Preview
Tasks
In this project, you will learn to:
- Set up a LAMP (Linux, Apache, MySQL, PHP) stack on a Linux system.
- Install and configure Apache as a web server.
- Start and manage MySQL database service.
- Install PHP and integrate it with Apache and MySQL.
- Configure Apache to handle PHP files correctly.
- Install and configure phpMyAdmin for easy MySQL database management.
- Install and configure WordPress, a popular content management system, on the LAMP stack.
Achievements
In this project, you will learn:
- A comprehensive understanding of setting up a web development environment using LAMP stack.
- Hands-on experience in configuring web servers, databases, and scripting languages for web development.
- Proficiency in deploying and managing web applications, demonstrated by setting up a WordPress blog platform.
Start Apache
In this step, you'll start the Apache HTTP server. Apache is one of the most widely used web server software due to its flexibility and stability. It's responsible for handling incoming HTTP requests and delivering web pages.
Apache already exists in the environment and can be started directly. Open the terminal and start the Apache service to ensure it's running:
sudo service apache2 start
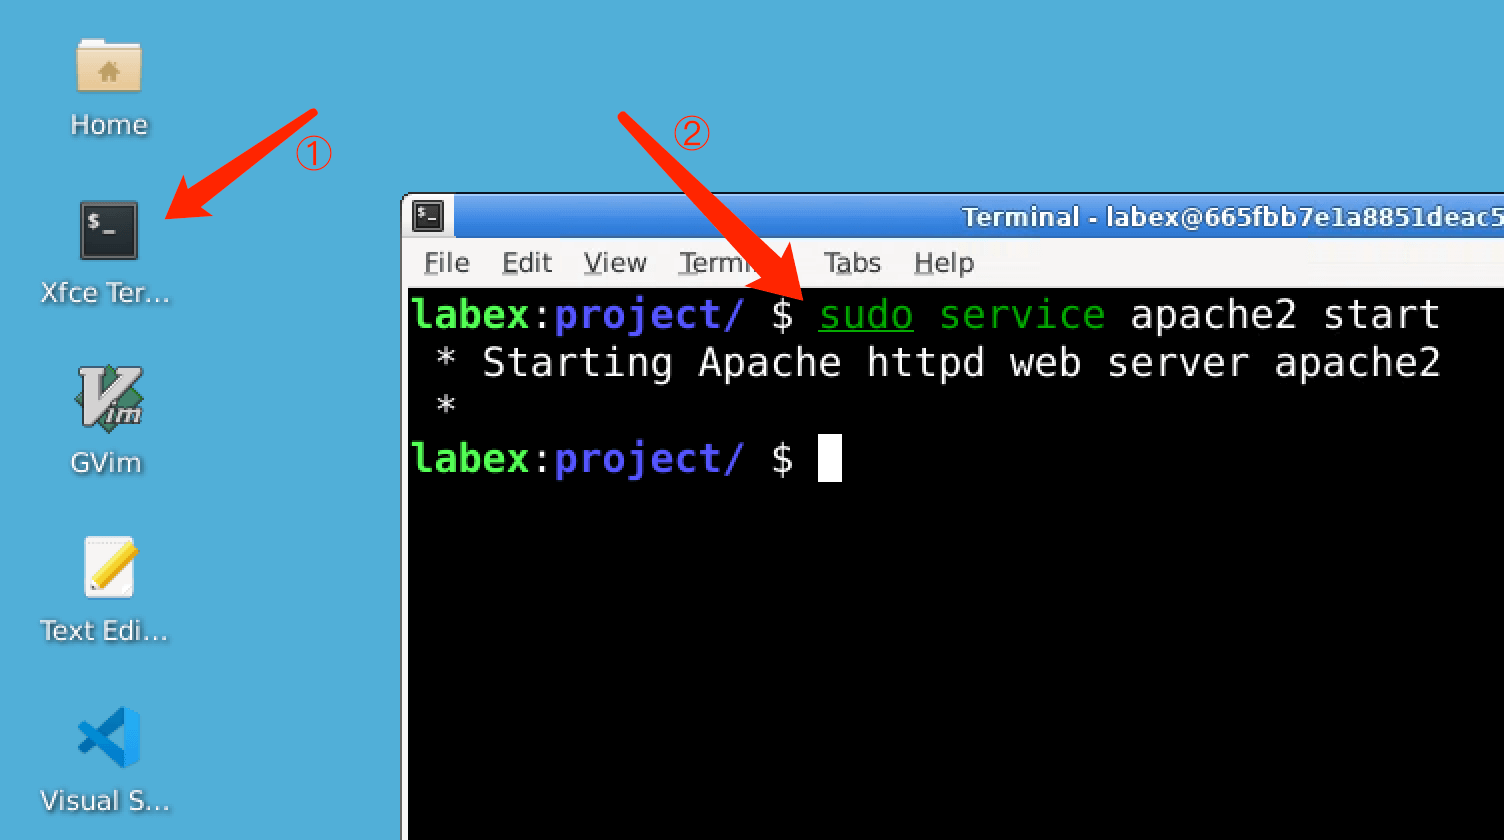
The service command controls system services. In this case, we're starting Apache.
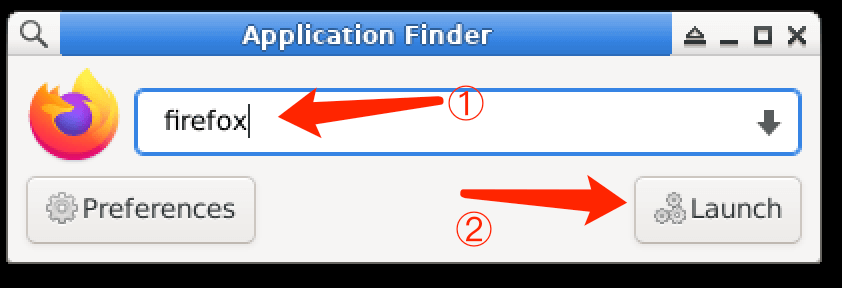
Verify the Apache installation, first click the "Applications" button and select the "Run Program" option.

Then enter "firefox" to launch the web browser.
Type localhost in the browser and press enter, you should see a default Apache welcome page indicating that Apache is running successfully.

Start MySQL
In this step, you'll activate the MySQL database service. MySQL is a popular relational database used to store data in a structured way.
MySQL already exists in the environment and can be started directly. Start the MySQL service:
sudo service mysql start
The mysql service should be active. This command will start it if it's not already running.
Install PHP
In this step, you'll install PHP, a popular scripting language used for dynamic web applications. It will be configured to work with Apache and MySQL.
Install PHP and its integration components:
sudo apt update
sudo apt install -y php libapache2-mod-php php-mysql
php: The main PHP package.libapache2-mod-php: Module for integrating PHP with Apache.php-mysql: Integration library to connect PHP with MySQL databases.
Create a PHP info page to verify the PHP installation:
sudo sh -c "echo '<?php phpinfo(); ?>' > /var/www/html/info.php"
This command uses sh -c to execute a command as a superuser, creating a file named info.php with a basic PHP script that displays information about the PHP environment.
The default directory Apache uses to serve web content is /var/www/html/. This default root directory can be changed by editing the 000-default.conf configuration file found at /etc/apache2/sites-enabled/. To customize the document root, modify the DocumentRoot directive within this configuration file.
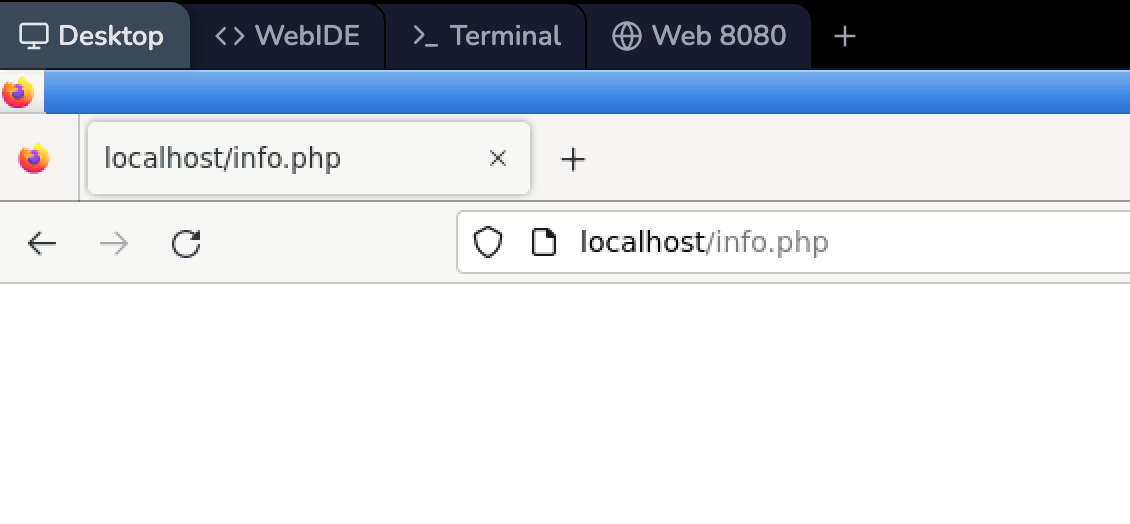
Switch to the browser, and access to http://localhost/info.php, this page is now available.
Configure Apache for PHP
In this step, you'll make sure that Apache is configured to process PHP files effectively.
Enable the mpm_prefork module, which is optimized for PHP, and disable the default mpm_event module:
sudo a2enmod mpm_prefork
sudo a2dismod mpm_event
sudo service apache2 restart
a2enmodenables specified modules in Apache, anda2dismoddisables them.- Restarting Apache makes the changes take effect.
Now reload the web page and you will see the change.

Install and Configure phpMyAdmin
In this step, you'll install phpMyAdmin, a web-based tool to manage MySQL databases.
Install phpMyAdmin:
sudo apt install -y phpmyadmin
This command installs the phpMyAdmin package and its dependencies.
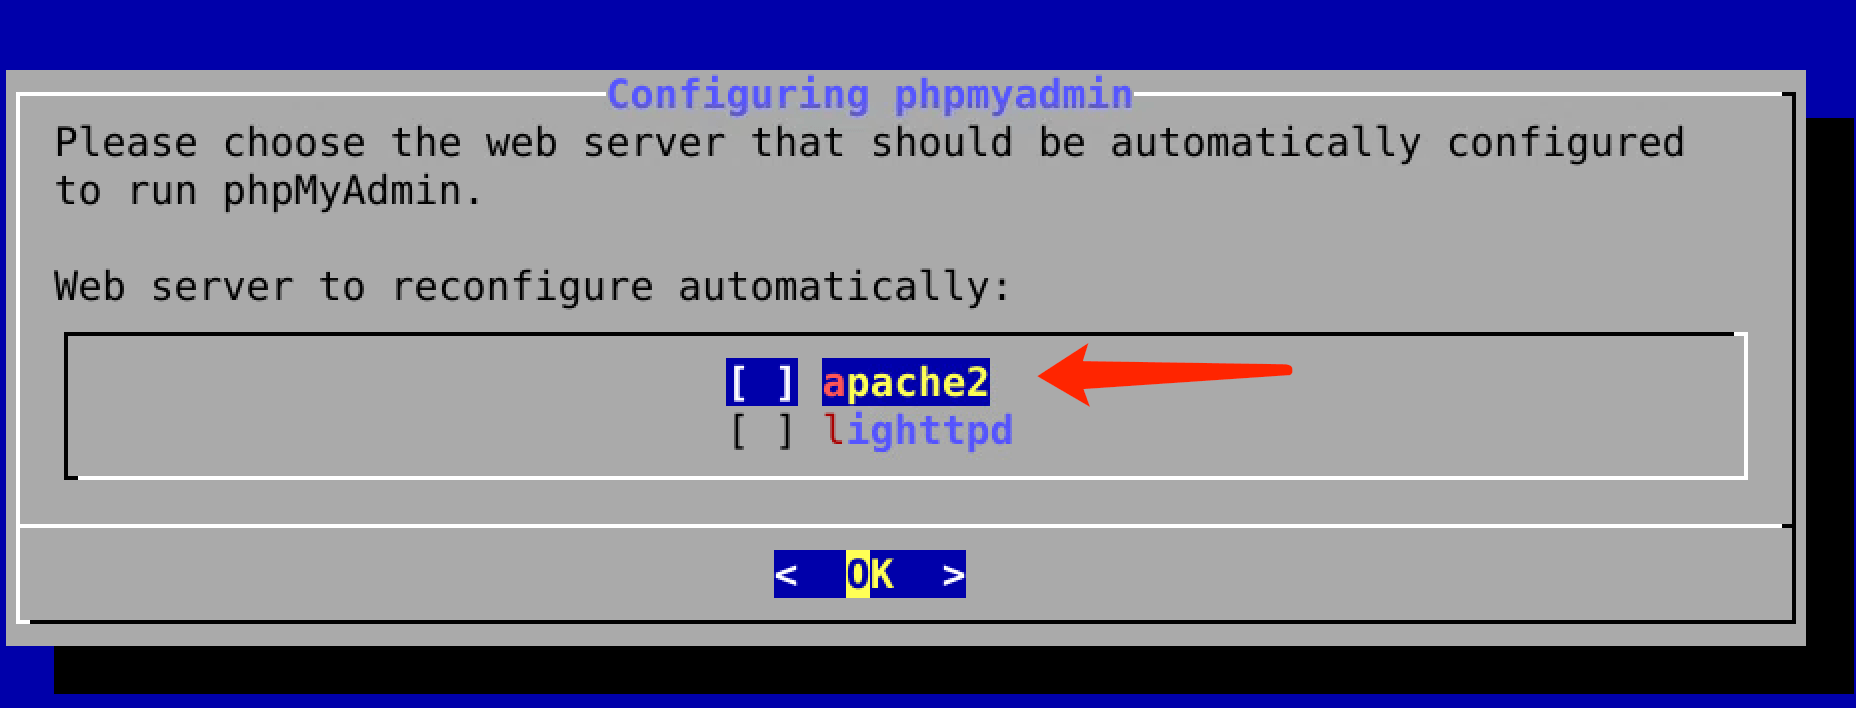
During the installation process, select "apache2":
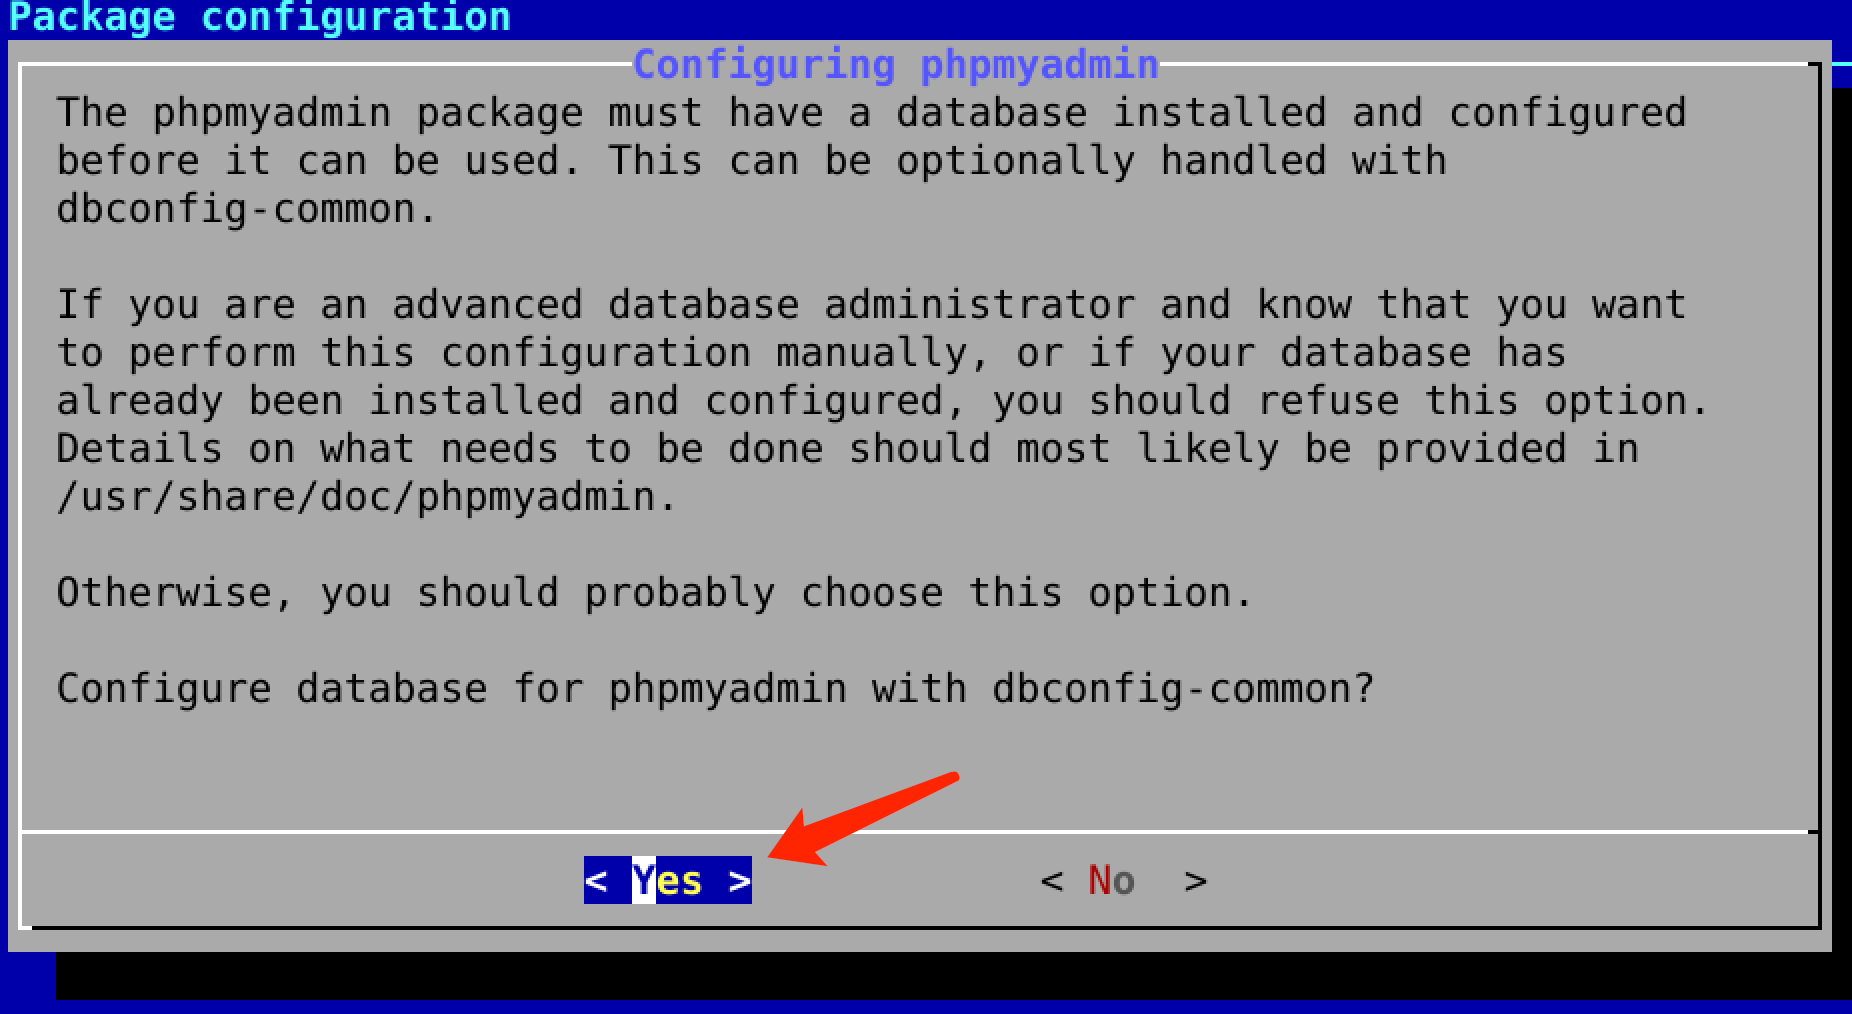
Select "Yes" to configure database configuration:
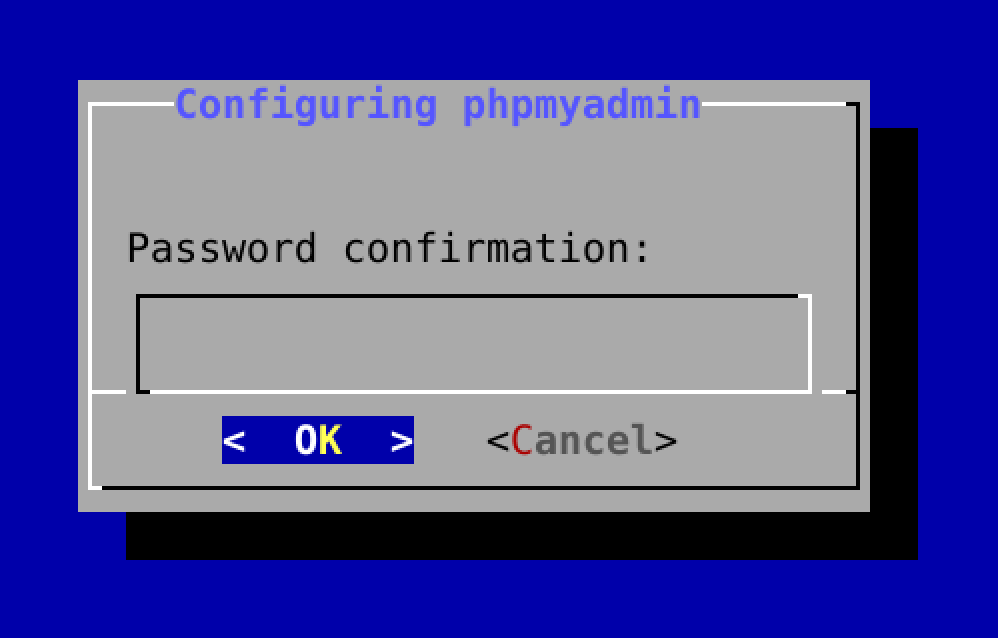
Enter and remember your phpadmin password:
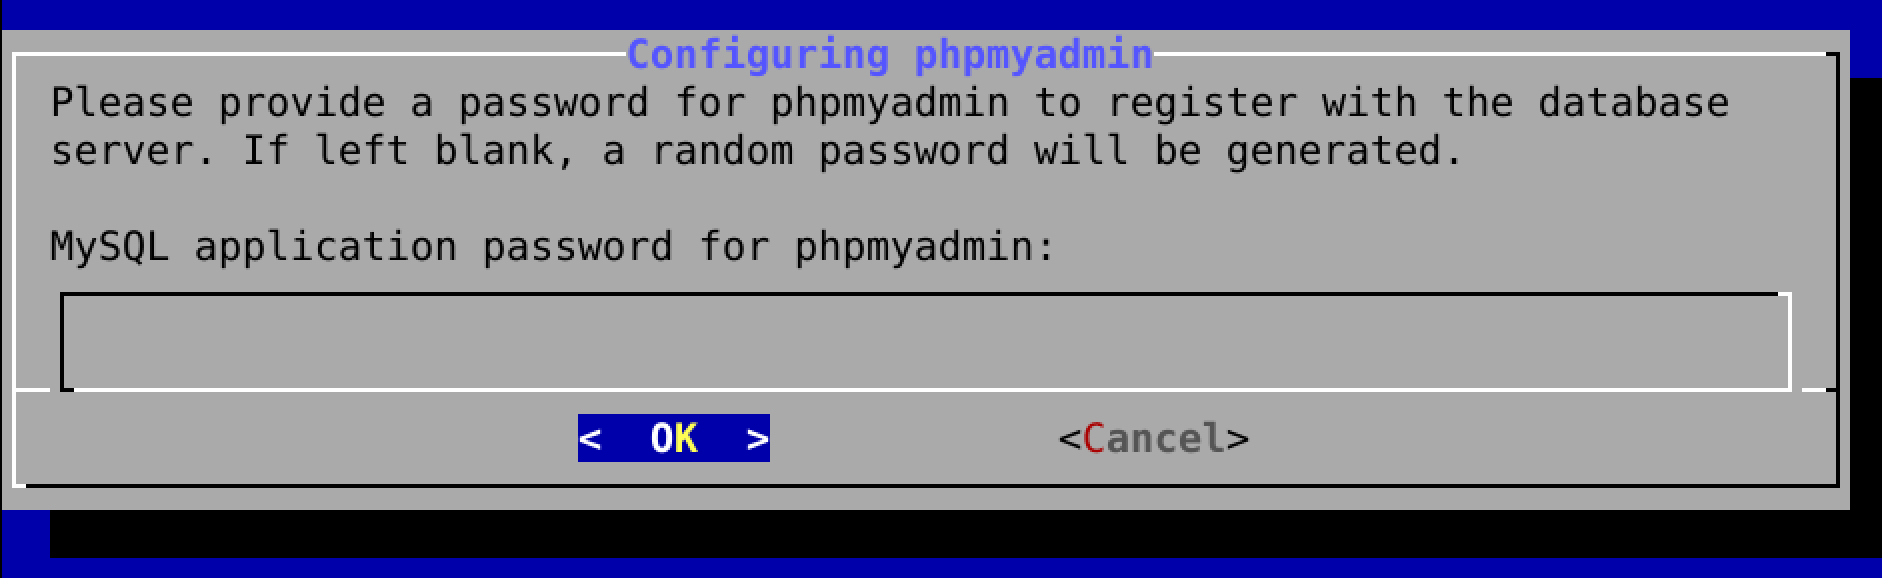
Comfirm your password:
Include the phpMyAdmin configuration in the Apache configuration file:
echo "Include /etc/phpmyadmin/apache.conf" | sudo tee -a /etc/apache2/apache2.conf
sudo service apache2 restart
- The
Includestatement tells Apache to load the phpMyAdmin configuration file. - Restarting Apache ensures the new configuration is loaded.
Install and Configure WordPress
In this step, you'll install and configure WordPress, a popular CMS (Content Management System).
Download the latest version of WordPress and extract the archive:
curl -O https://wordpress.org/latest.tar.gz
tar xzvf latest.tar.gz
curl -Odownloads a file from the specified URL.tar xzvfextracts the downloaded.tar.gzarchive.
Create a new MySQL database for WordPress:
mysql -u root -e "CREATE DATABASE wordpress_db;"
-u rootconnects to MySQL as the root user.- The
CREATE DATABASEcommand sets up a new database namedwordpress_db.
Configure WordPress to connect to the newly created database:
cd /home/labex/project/wordpress
cp wp-config-sample.php wp-config.php
cpcopies the sample WordPress configuration file to a new file (wp-config.php).
Open the folder, and update the database settings in the new configuration file:
define('DB_NAME', 'wordpress_db');
define('DB_USER', 'root');
define('DB_PASSWORD', '');
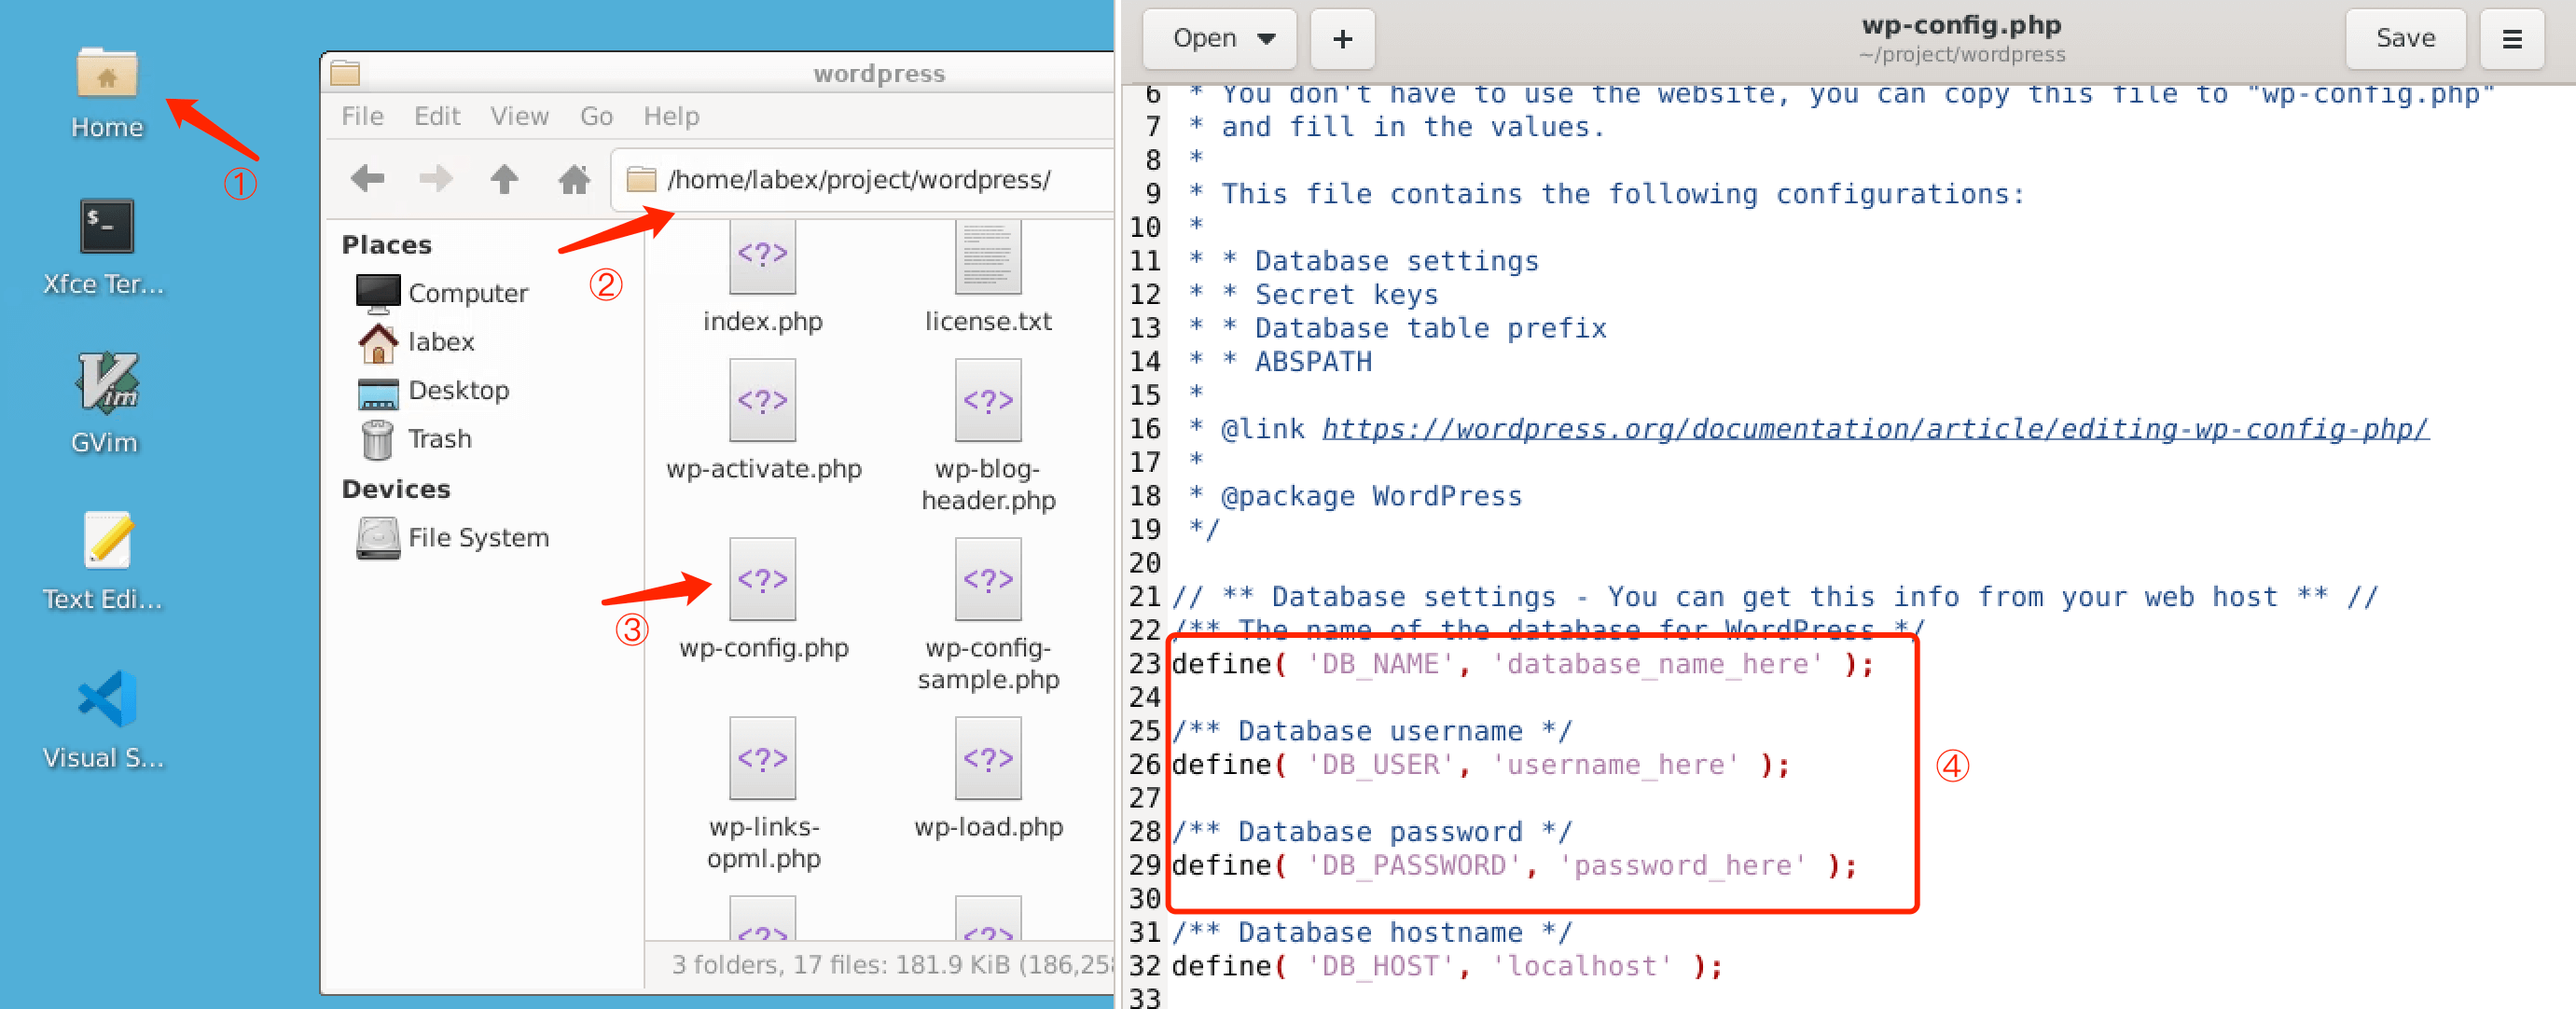
Make sure that the database credentials match your setup. Save the file after editing, move the folder to the default directory.
sudo mv /home/labex/project/wordpress /var/www/html/wordpress
sudo chown -R www-data:www-data /var/www/html/wordpress
mvmoves the WordPress directory to the web server directory.chownchanges the ownership of the WordPress directory to the Apache user (www-data), so Apache can access and modify the files.
Finalize WordPress Installation and Create Your First Blog Post
In this step, you'll finalize the WordPress installation through the web interface and create your first blog post.
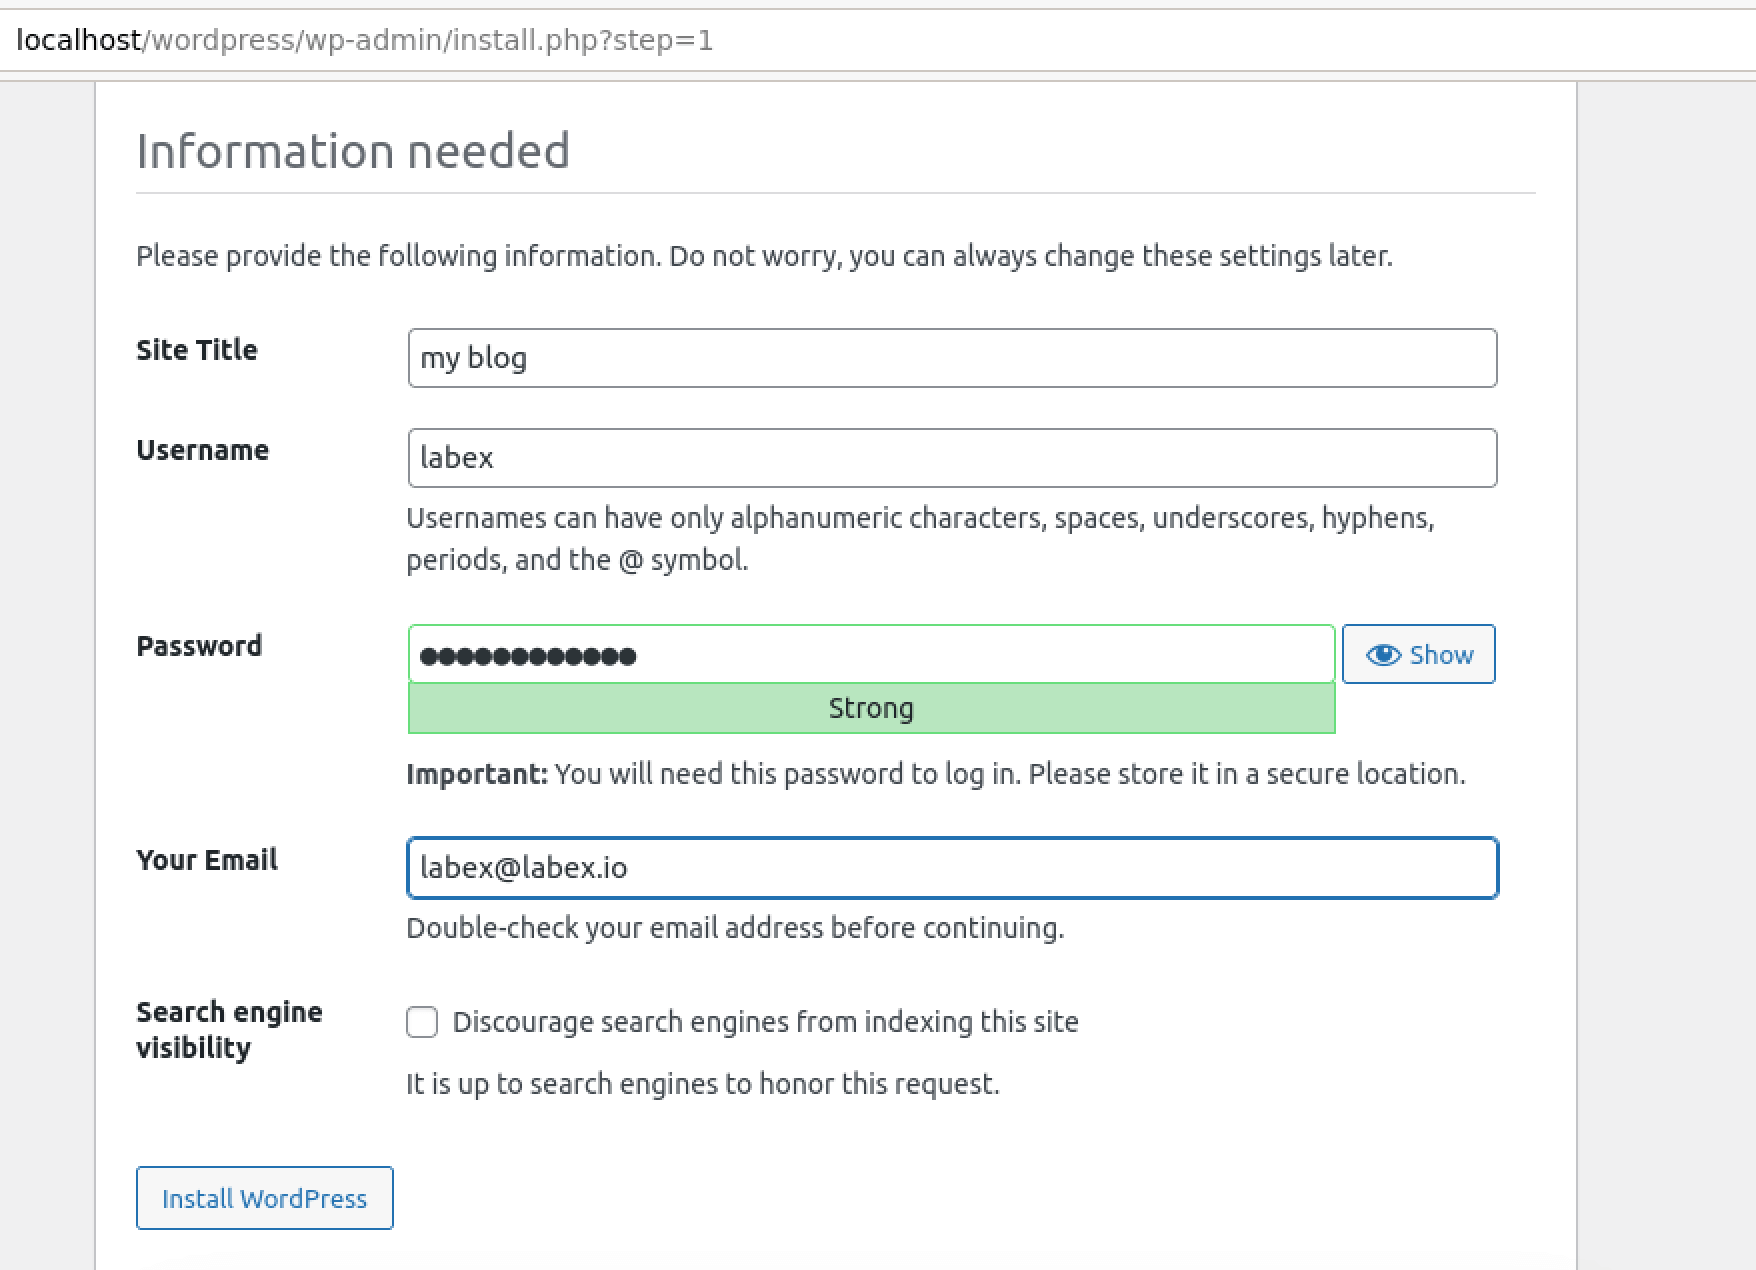
Open your web browser and navigate to http://localhost/wordpress. This will start the WordPress installation wizard.
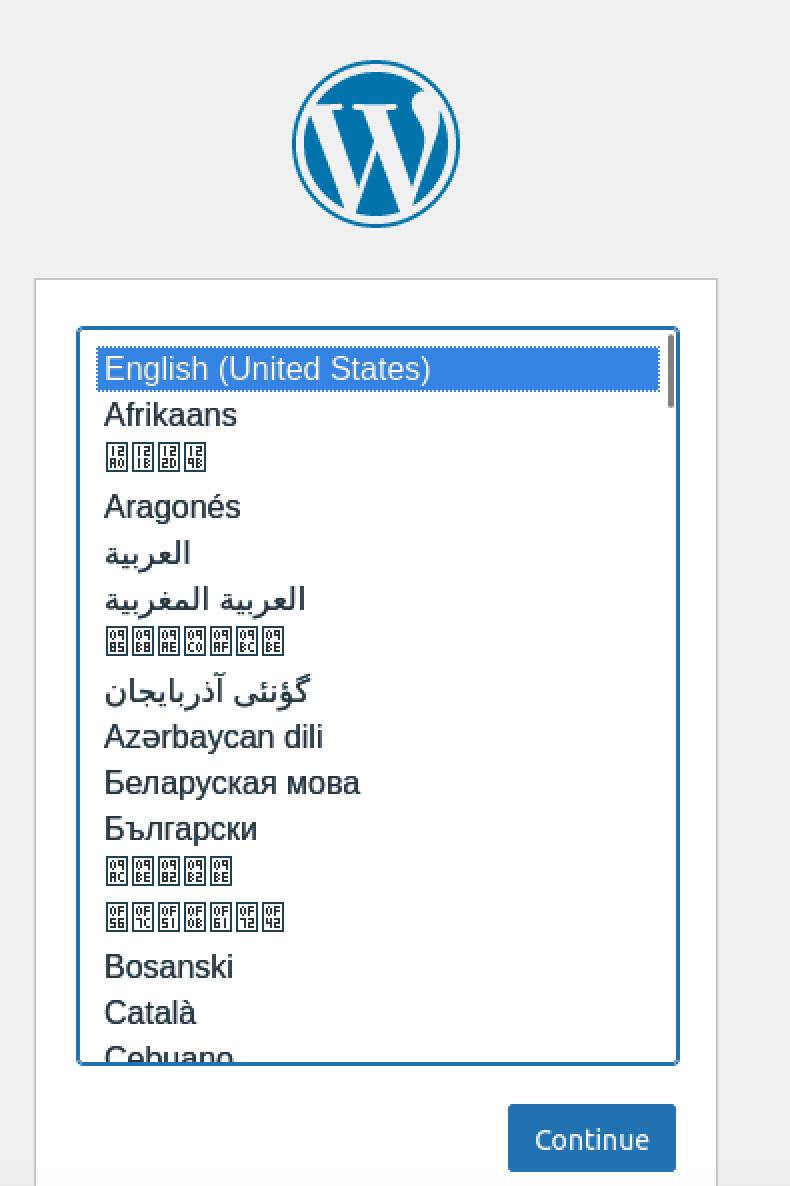
Follow the on-screen instructions to select your language, set up the website title, and create a user account with an admin username, password, and email address.
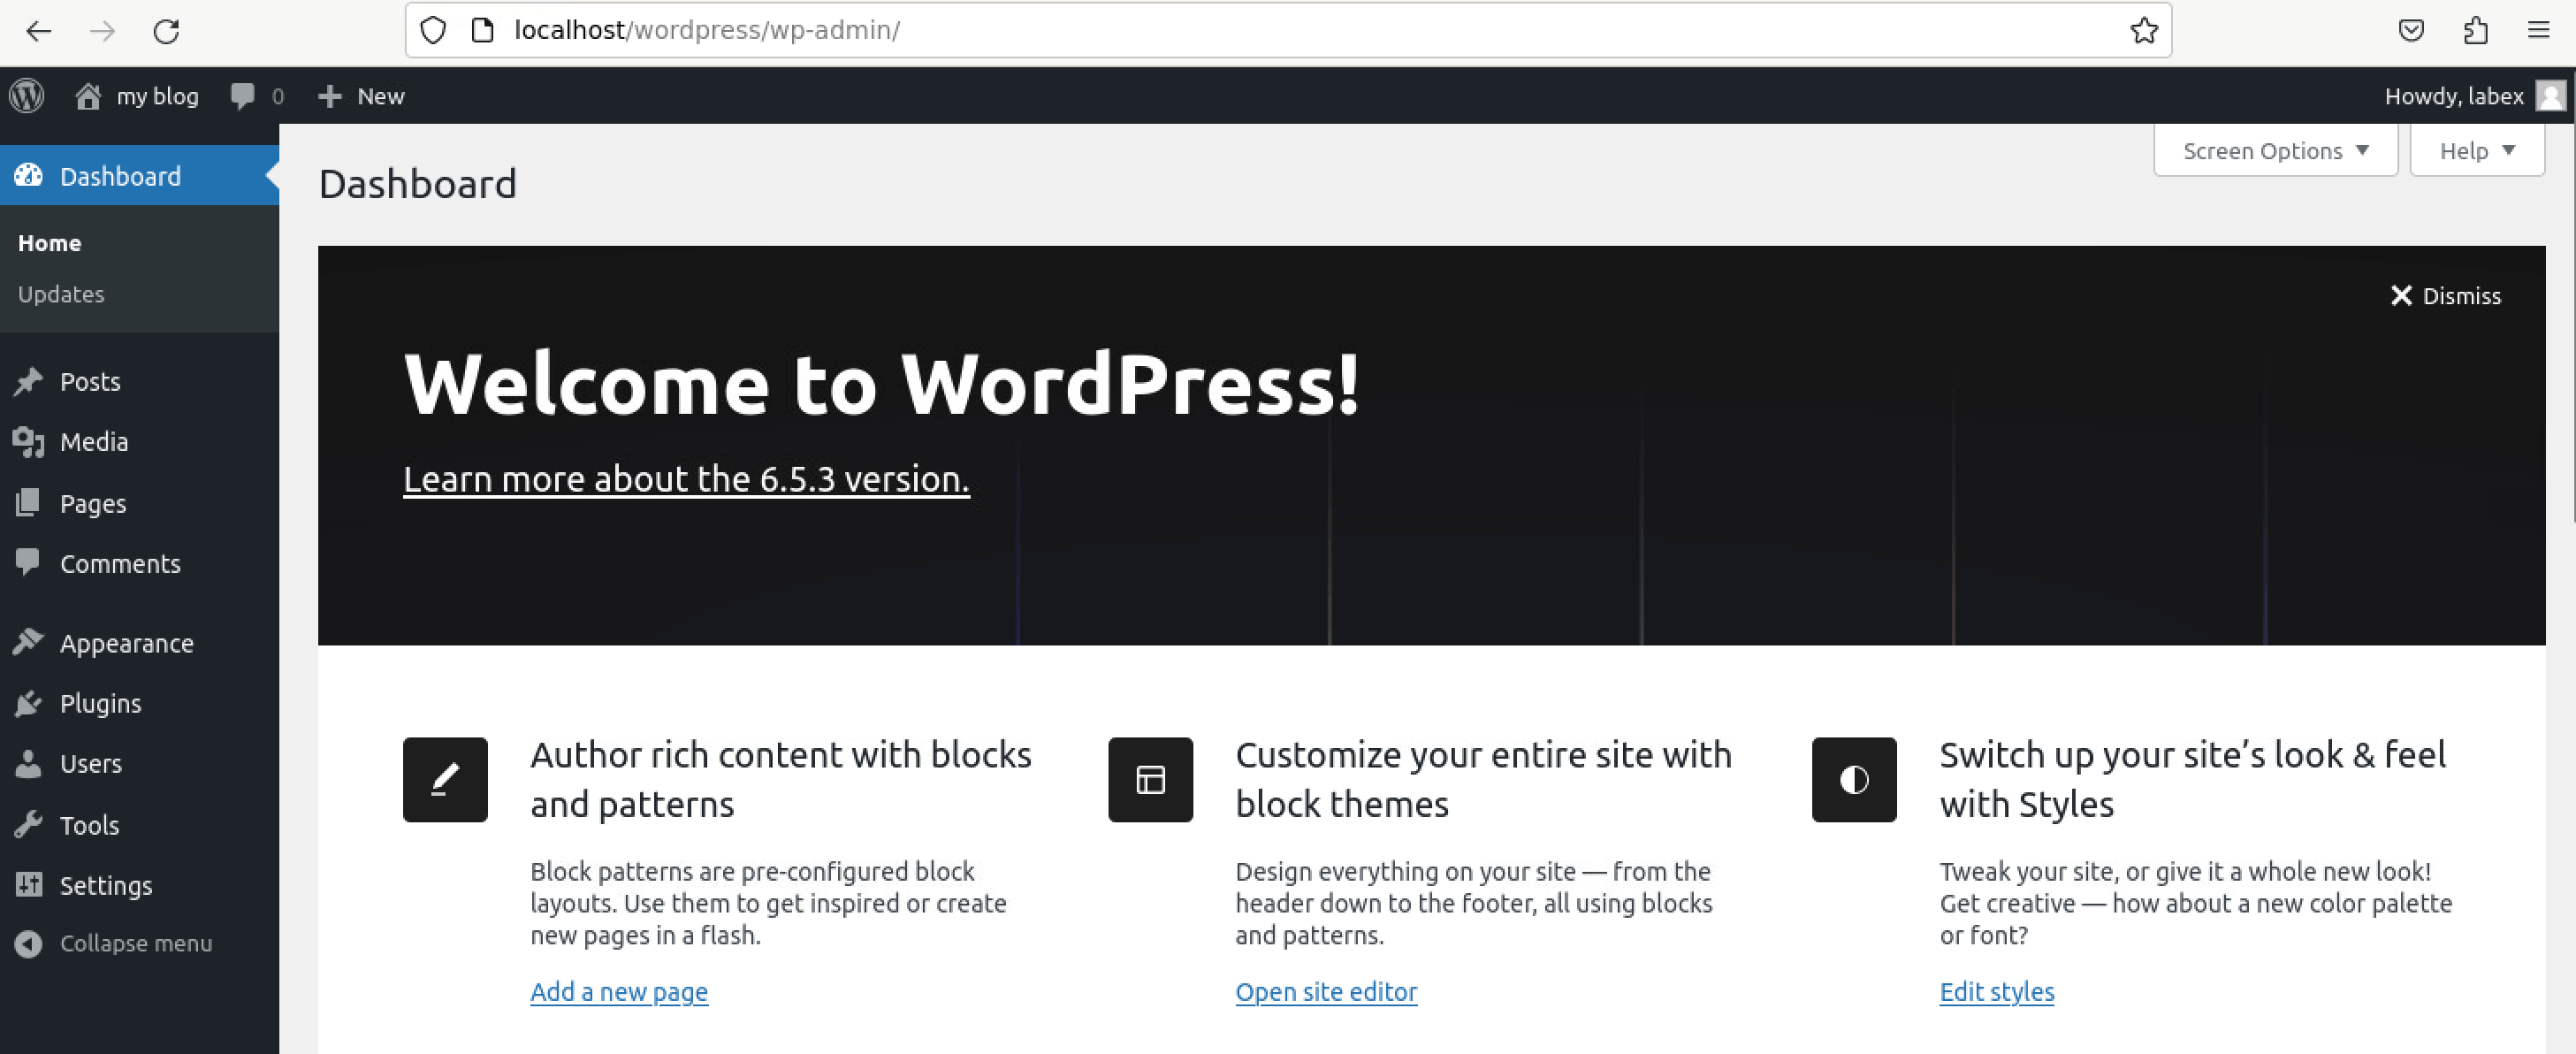
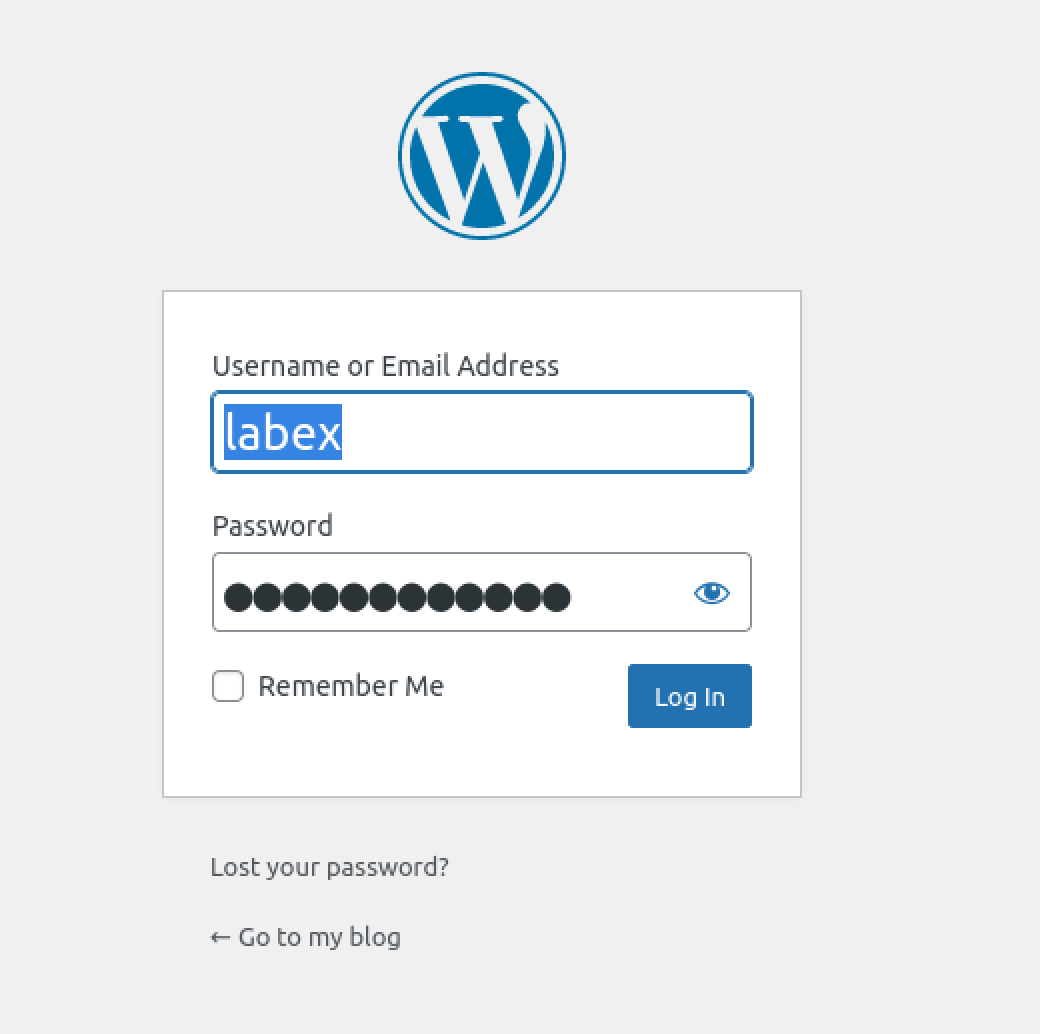
Once the setup is complete, log in to the WordPress dashboard using the credentials you created.
To create a new blog post:
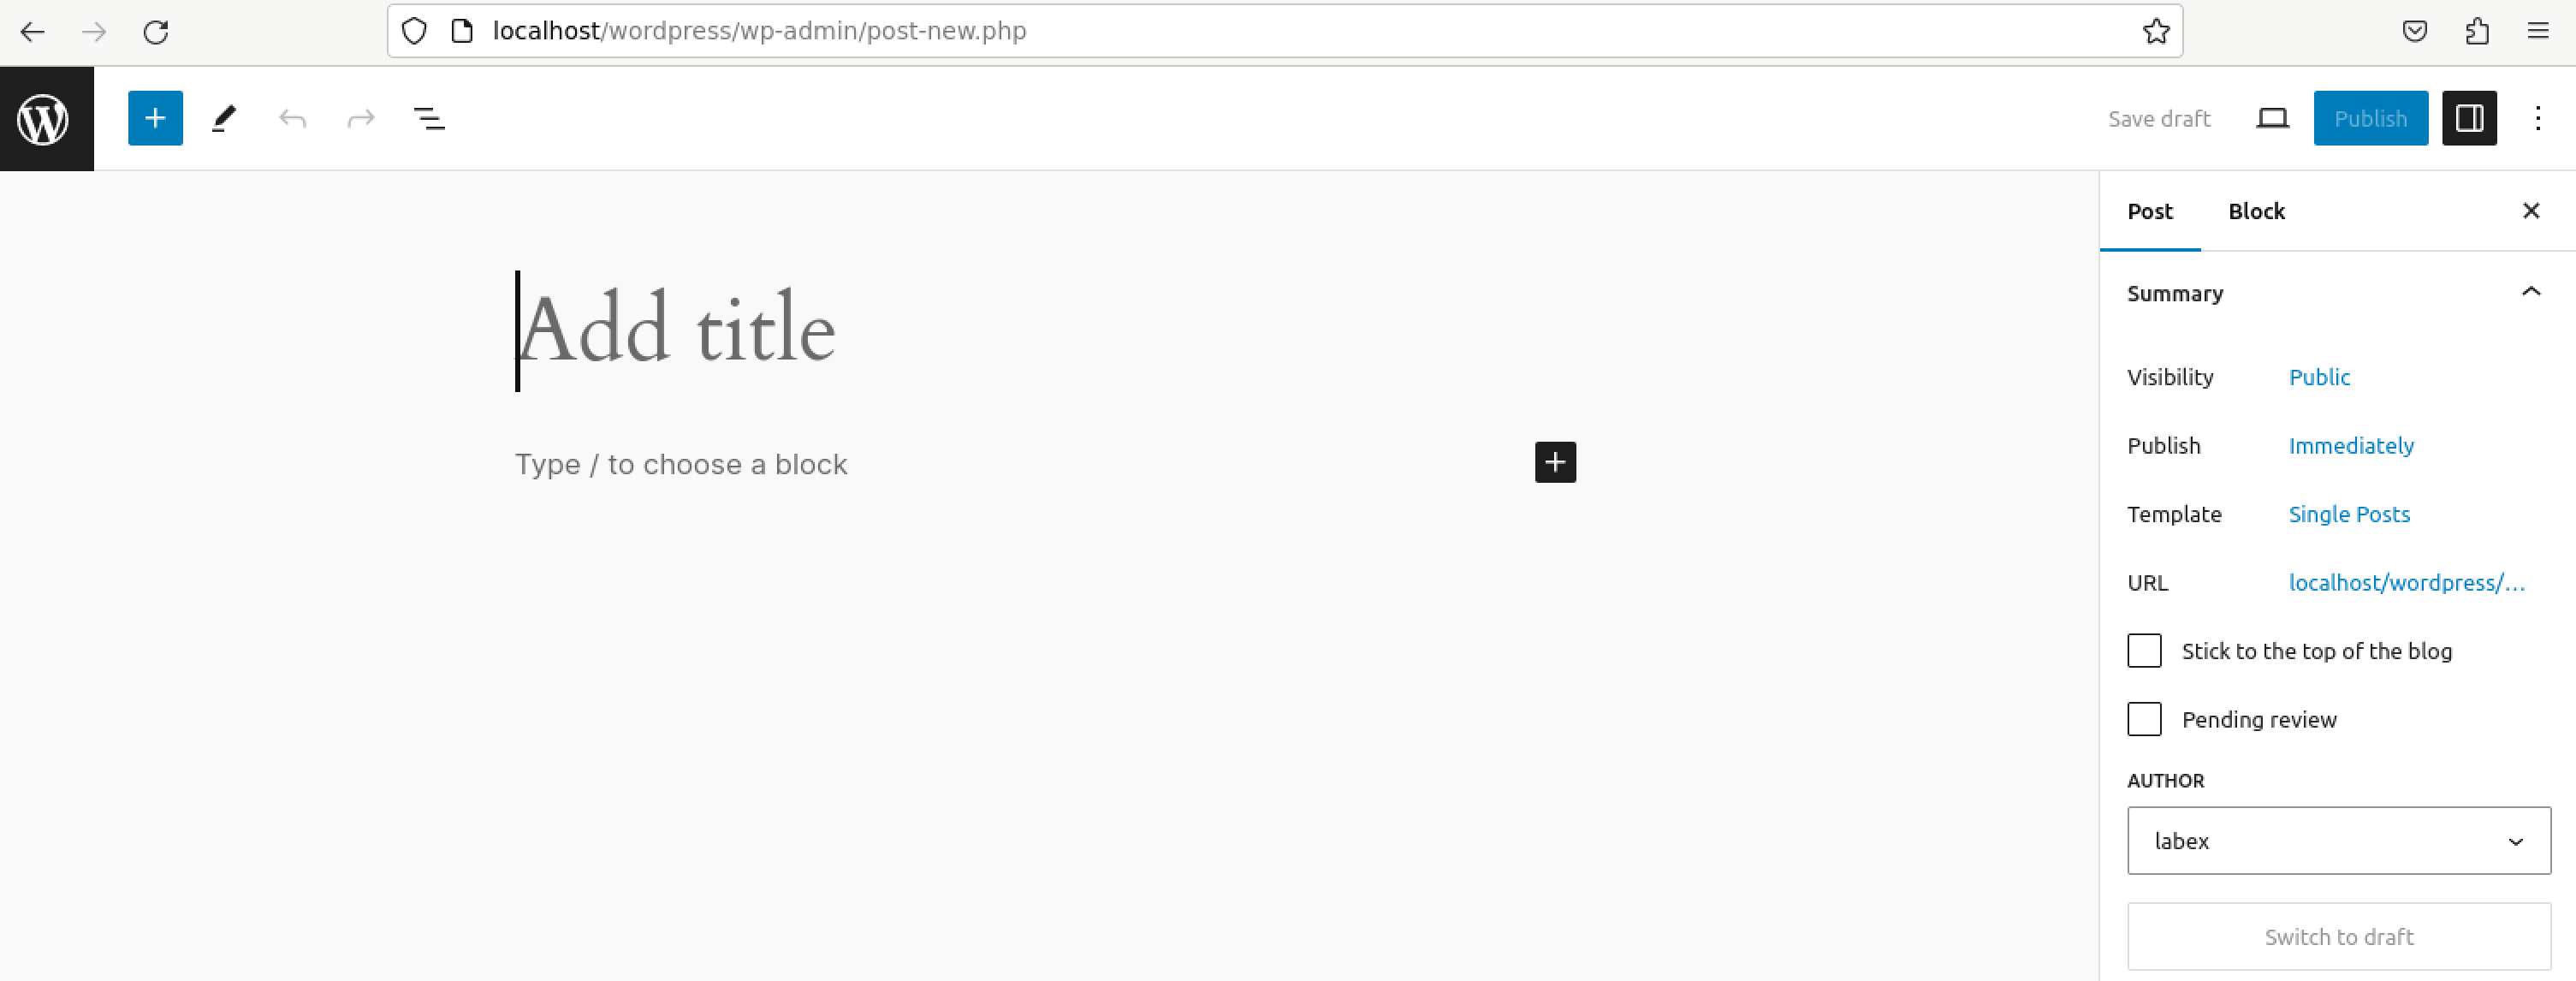
- Navigate to the Dashboard, find the 'Posts' menu, and click on 'Add New'.
- Enter a title for your post and write your content in the text editor provided.
- Once you are satisfied with your content, click on 'Publish' to make your blog post live.
Now, you can view your blog posts on http://localhost/wordpress!
Summary
In this lab, you've learned how to set up a LAMP server by installing and configuring Apache, MySQL, and PHP. You then installed and configured phpMyAdmin for database management and WordPress as a sample application. This hands-on experience provided a comprehensive understanding of how to deploy web applications using the LAMP stack.


