
Introduction
In this lab, you will learn the fundamentals of encryption using OpenSSL, a widely used toolkit for secure communication and data protection. You'll explore how encryption transforms readable data into secure formats, ensuring confidentiality even if intercepted.
This hands-on experience will guide you through installing OpenSSL, performing symmetric encryption, and securely managing keys. By the end, you'll understand how these techniques safeguard sensitive information in real-world applications like online banking and messaging.
Installing OpenSSL
Before we can start encrypting messages, we need to install OpenSSL on our system. OpenSSL is a robust, full-featured toolkit for the Transport Layer Security (TLS) and Secure Sockets Layer (SSL) protocols, and it's also a general-purpose cryptography library. Think of it as a toolbox containing all the tools you need to secure digital communications.
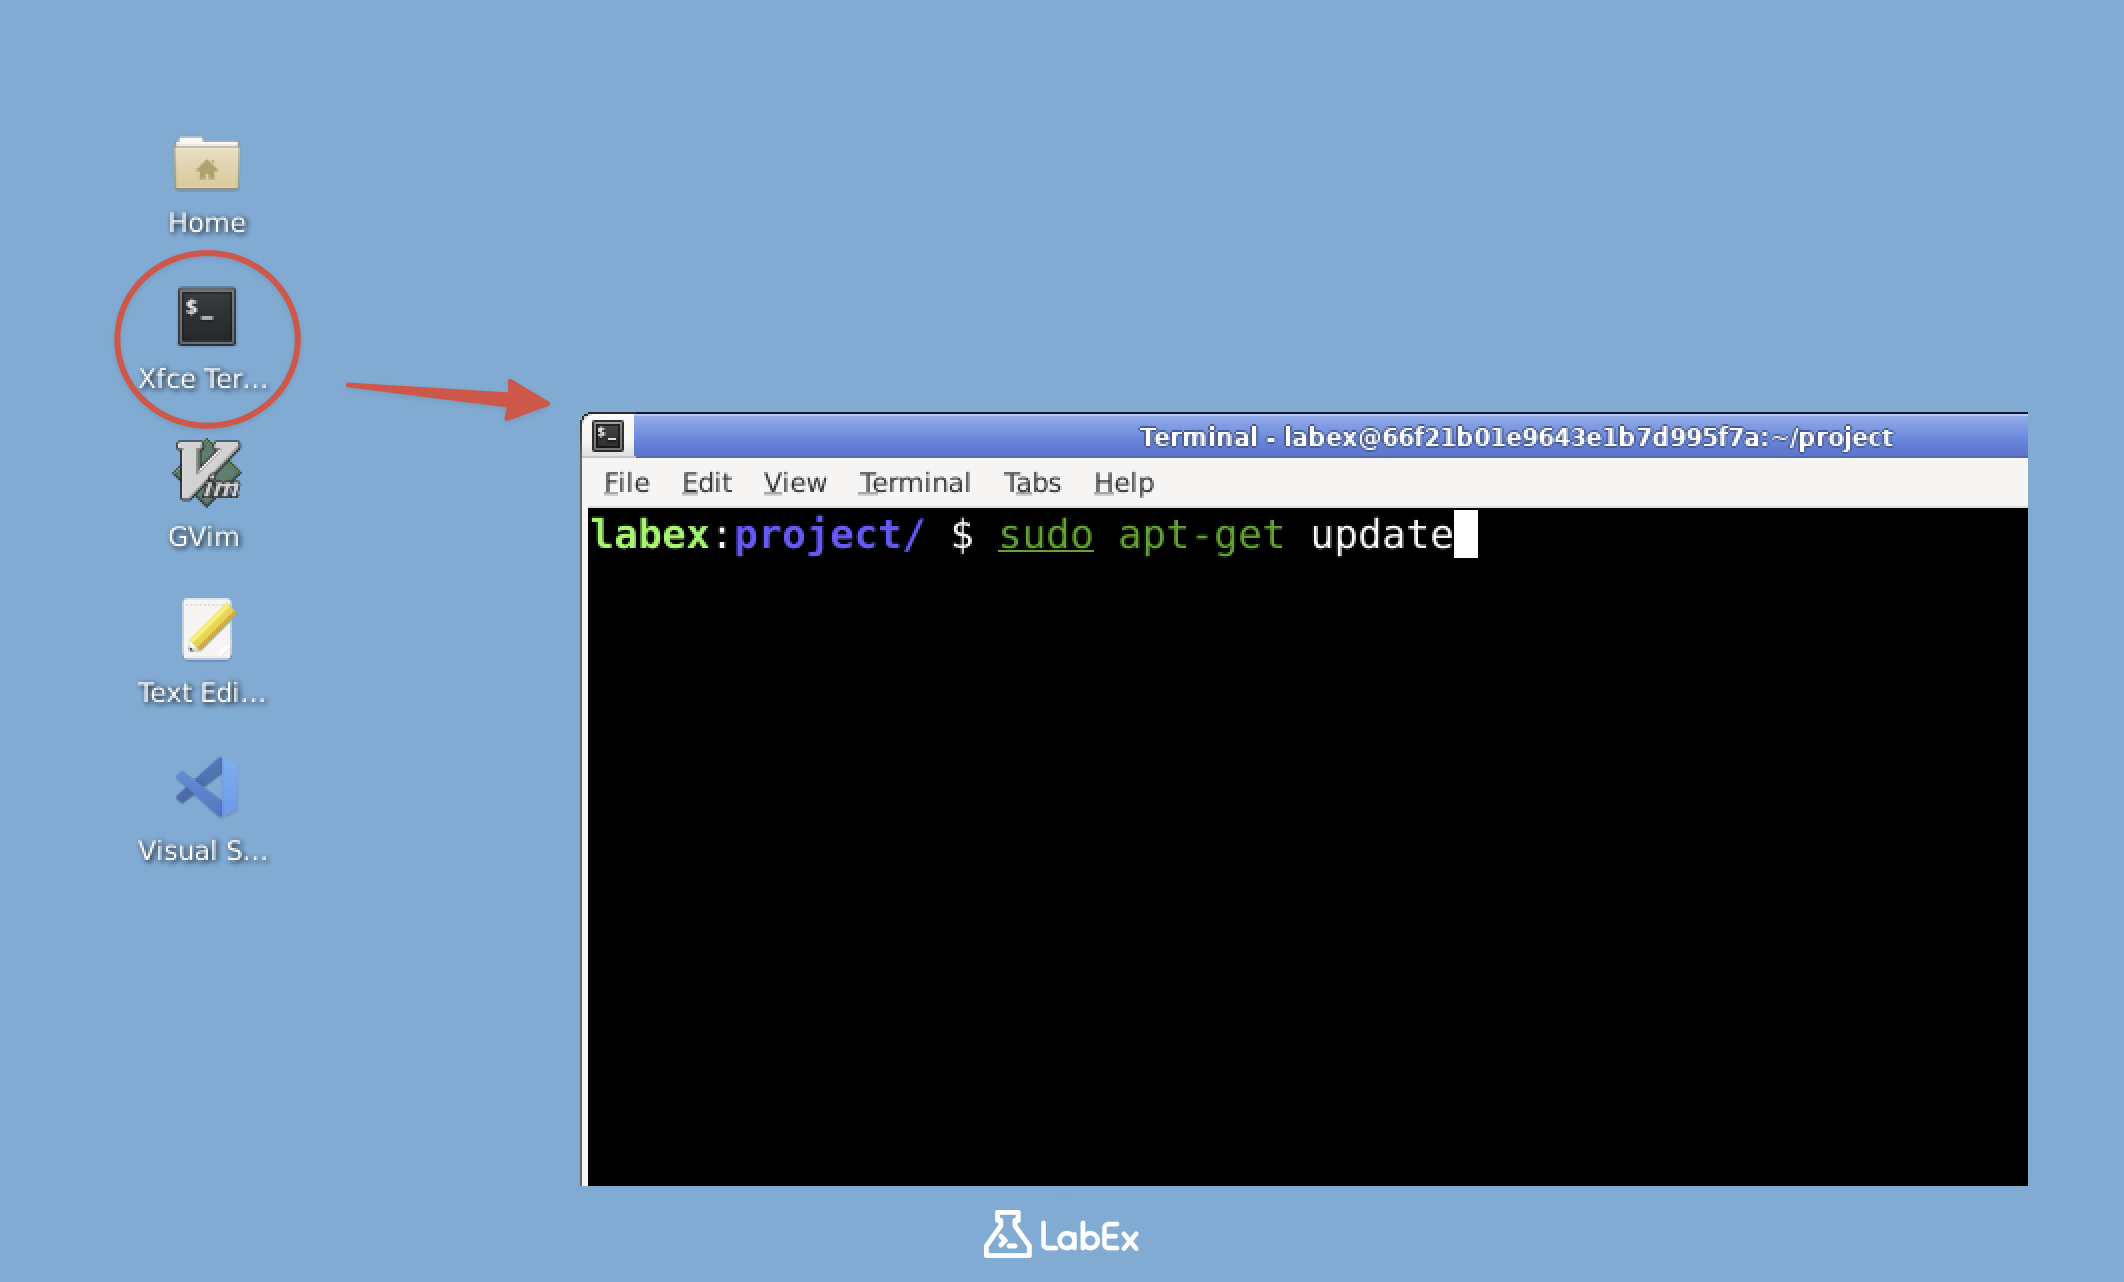
- First, let's open the terminal. The terminal is where we'll be running all our OpenSSL commands. On Linux systems like our lab environment, the terminal is the primary way to interact with system tools. On your desktop, locate and open the Xfce Terminal. If you're new to terminals, don't worry - we'll walk through each step carefully.
Note: Free users can't connect to the internet, so OpenSSL is already pre-installed in the lab environment, You can jump to item 4 in the list (check if OpenSSL is installed). Upgrade to a pro user to practice installing OpenSSL by yourself.
Pro Users Only
- Once the terminal is open, we need to update the package lists. This is like refreshing a catalog of available software before making a purchase. Type the following command and press Enter:
sudo apt-get update
sudo gives us administrator privileges, similar to "Run as Administrator" in Windows. The system might ask for your password - this is normal security procedure. When typing passwords in Linux terminals, no characters appear, which might feel strange at first but is actually a security feature.
- Now that our package lists are up-to-date, let's install OpenSSL. Enter the following command:
sudo apt-get install openssl -y
The -y flag automatically says "yes" to any installation prompts. You'll see many lines of text scrolling by - this is the system downloading and setting up OpenSSL and its dependencies. Each line represents a step in the installation process.
- After installation, we should verify that OpenSSL is properly installed. This is like checking if a new appliance works after plugging it in. Enter:
openssl version
You should see output similar to this:
OpenSSL 3.0.2 15 Mar 2022 (Library: OpenSSL 3.0.2 15 Mar 2022)
The exact version number might differ - that's okay as long as you get a version number back. This output tells us OpenSSL is installed and ready to use.
- Great job! You now have OpenSSL installed. This toolkit will allow us to perform various cryptographic operations. In upcoming sections, we'll use it to encrypt and decrypt messages, which is fundamental to understanding how secure communications work.
If you're curious about OpenSSL's full capabilities, you can explore its manual by typing man openssl. This documentation contains all available commands and options. While it might look overwhelming now, we'll focus on practical, commonly used features in this lab to build your cryptography knowledge step by step.
Creating a Secret Message
Now that we have OpenSSL installed and ready to use, let's create our first secret message that we'll later encrypt. This is an important first step in understanding how encryption works - we need something to encrypt!
First, we need to make sure we're in the right place on our computer. In the terminal, type:
cd ~/projectThis command changes our current directory (that's what
cdstands for) to the project folder in our home directory. The~symbol is a shortcut that means "home directory". Working in the correct directory helps keep our files organized and makes the next steps easier.Now, let's create our secret message. We'll use a command called
echoto do this. Type:echo "LabEx has the best labs for fun, hands-on learning." > secret.txtLet's examine what each part does:
echois a basic command that outputs text to the terminal- The text in quotes is our secret message that we want to protect
- The
>symbol redirects the output to a file instead of showing it on screen secret.txtis the name of the file where our message will be stored
Great! We've created our file. But how do we know it worked correctly? Let's check the contents:
cat secret.txtThe
catcommand (short for "concatenate") displays the contents of files. When you run this, you should see your exact secret message displayed in the terminal, confirming the file was created properly.Currently, our message is stored in what cryptographers call "plaintext" - meaning it's completely readable by anyone who accesses the file. This is fine for now, but in real-world scenarios, sensitive information should never be stored this way. In the following steps, we'll use OpenSSL to transform this plaintext into secure ciphertext through encryption.
Encrypting the Message with OpenSSL
Now we'll transform our plain text message into encrypted data that can only be read with the correct password. This process is called encryption, and it's fundamental to keeping information secure in digital communications.
We'll use AES-256-CBC encryption, which is an industry-standard method. Let's understand each part of this term:
- AES (Advanced Encryption Standard): A symmetric encryption algorithm approved by the U.S. government for protecting classified information
- 256: The key length in bits - longer keys provide stronger security
- CBC (Cipher Block Chaining): A mode that makes each block of data depend on the previous one, enhancing security
To encrypt our file, we'll use this OpenSSL command:
openssl enc -aes-256-cbc -salt -in secret.txt -out secret.enc -pbkdf2Here's what each part does:
openssl enc: Invokes OpenSSL's encryption function-aes-256-cbc: Specifies our chosen encryption method-salt: Adds random data to prevent identical messages from looking the same when encrypted-in secret.txt: Names our input file containing the original message-out secret.enc: Specifies where to save the encrypted output-pbkdf2: Uses Password-Based Key Derivation Function 2 to securely generate encryption keys from passwords
When you execute this command, OpenSSL will prompt you to create and verify a password. This password is crucial because:
- It generates the actual encryption key
- You'll need it exactly as entered to decrypt the file later
- The security of your encrypted data depends on its strength
Note: The terminal won't display any characters as you type your password - this is normal security behavior in Linux systems. Just type carefully and press Enter when done.
After encryption, verify the encrypted file exists with:
ls -l secret.encThis lists files with details - you should see
secret.encwith a non-zero size, confirming successful encryption.Try viewing the encrypted content:
cat secret.encThe output will appear as random characters because it's now in encrypted binary format. This demonstrates how encryption transforms readable data into secure ciphertext that's meaningless without the proper decryption key.
Decrypting the Message
Now that we have our encrypted message stored in secret.enc, it's time to reverse the process and recover our original message. Decryption is like using a special key to unlock the scrambled text we created earlier. Just as we needed the correct password to encrypt, we'll need the exact same password to decrypt successfully.
The decryption command follows a similar structure to encryption but with some important differences. Type this command in your terminal:
openssl enc -aes-256-cbc -d -in secret.enc -out decrypted.txt -pbkdf2Let's examine each part of this command carefully:
-dis the crucial flag that switches OpenSSL to decryption mode-in secret.encspecifies our encrypted file as input-out decrypted.txtnames the file where our recovered message will be saved- The rest of the parameters (
-aes-256-cbcand-pbkdf2) must match exactly what we used during encryption
When executing this command, OpenSSL will prompt for your password. This is the security checkpoint - you must provide the identical password used during encryption. Note that:
- The password field will remain blank as you type (this is normal for security)
- Any password mismatch will result in unreadable output
- The system won't warn you about wrong passwords - it will simply fail to decrypt properly
After successful decryption, we should verify the results. Use the
catcommand to display the contents of your decrypted file:cat decrypted.txtThe terminal should display the familiar message: "LabEx has the best labs for fun, hands-on learning."
For absolute certainty that our decryption worked perfectly, we can compare the original and decrypted files byte-for-byte using the
diffcommand:diff secret.txt decrypted.txtA silent output from
diffis actually the best possible result - it confirms both files contain exactly the same content with no differences whatsoever. If you see any output, that indicates the decryption wasn't completely successful.
Understanding the Importance of Key Management
In this final step, we'll explore why keeping your encryption key (or password) safe is so crucial. Encryption keys are like digital locks - they protect your data by scrambling it in a way that can only be reversed with the correct key. Without proper key management, even the strongest encryption becomes useless.
Let's try decrypting our file again, but this time we'll use the wrong password on purpose. This demonstration will show what happens when key management fails. Run the following command in your terminal:
openssl enc -aes-256-cbc -d -in secret.enc -out wrong.txt -pbkdf2
When prompted for the password, intentionally enter something different from what you used during encryption. This simulates either forgetting your password or someone trying to access your data without authorization. Now, let's examine the result:
cat wrong.txt
You'll either see an error message or a bunch of random characters. This output is important because it shows two things: first, that OpenSSL properly implemented the encryption (it didn't just give access to the data), and second, that without the exact correct password, the encrypted data remains completely secure.
This simple experiment demonstrates several key principles of cryptography. The encryption algorithm (AES-256-CBC in this case) is designed to be completely dependent on the key - even a single character difference in the password produces completely different output. In real-world applications, this means:
- You must store your encryption keys securely (not with the encrypted data)
- You should use strong, unique passwords for encryption
- Key management systems often include backup procedures
- In enterprise environments, keys are frequently rotated (changed periodically)
Remember, the security of your encrypted data is only as strong as your key management practices. Just like you wouldn't write your safe combination on a sticky note attached to the safe, you need to be thoughtful about how you store and protect your encryption keys.
Summary
In this lab, you have learned how to install and use OpenSSL for basic encryption operations. You explored symmetric encryption concepts and practiced encrypting and decrypting files while understanding the importance of secure key management.
This hands-on experience introduced you to fundamental cryptography principles that form the basis of modern data security. Whether for personal data protection or professional development, these skills provide a solid foundation for further cybersecurity exploration.


