
Introduction
Kubernetes is a container orchestration platform that automates the deployment, scaling, and management of containerized applications. In this lab, you will explore how to use the cluster-info command to gain insight into your Kubernetes cluster. By the end of the lab, you will understand how to start a Kubernetes cluster, retrieve essential cluster information, inspect internal components, and test API server connectivity.
This lab is tailored for beginners, and no prior experience with Kubernetes is required.
Start the Kubernetes Cluster
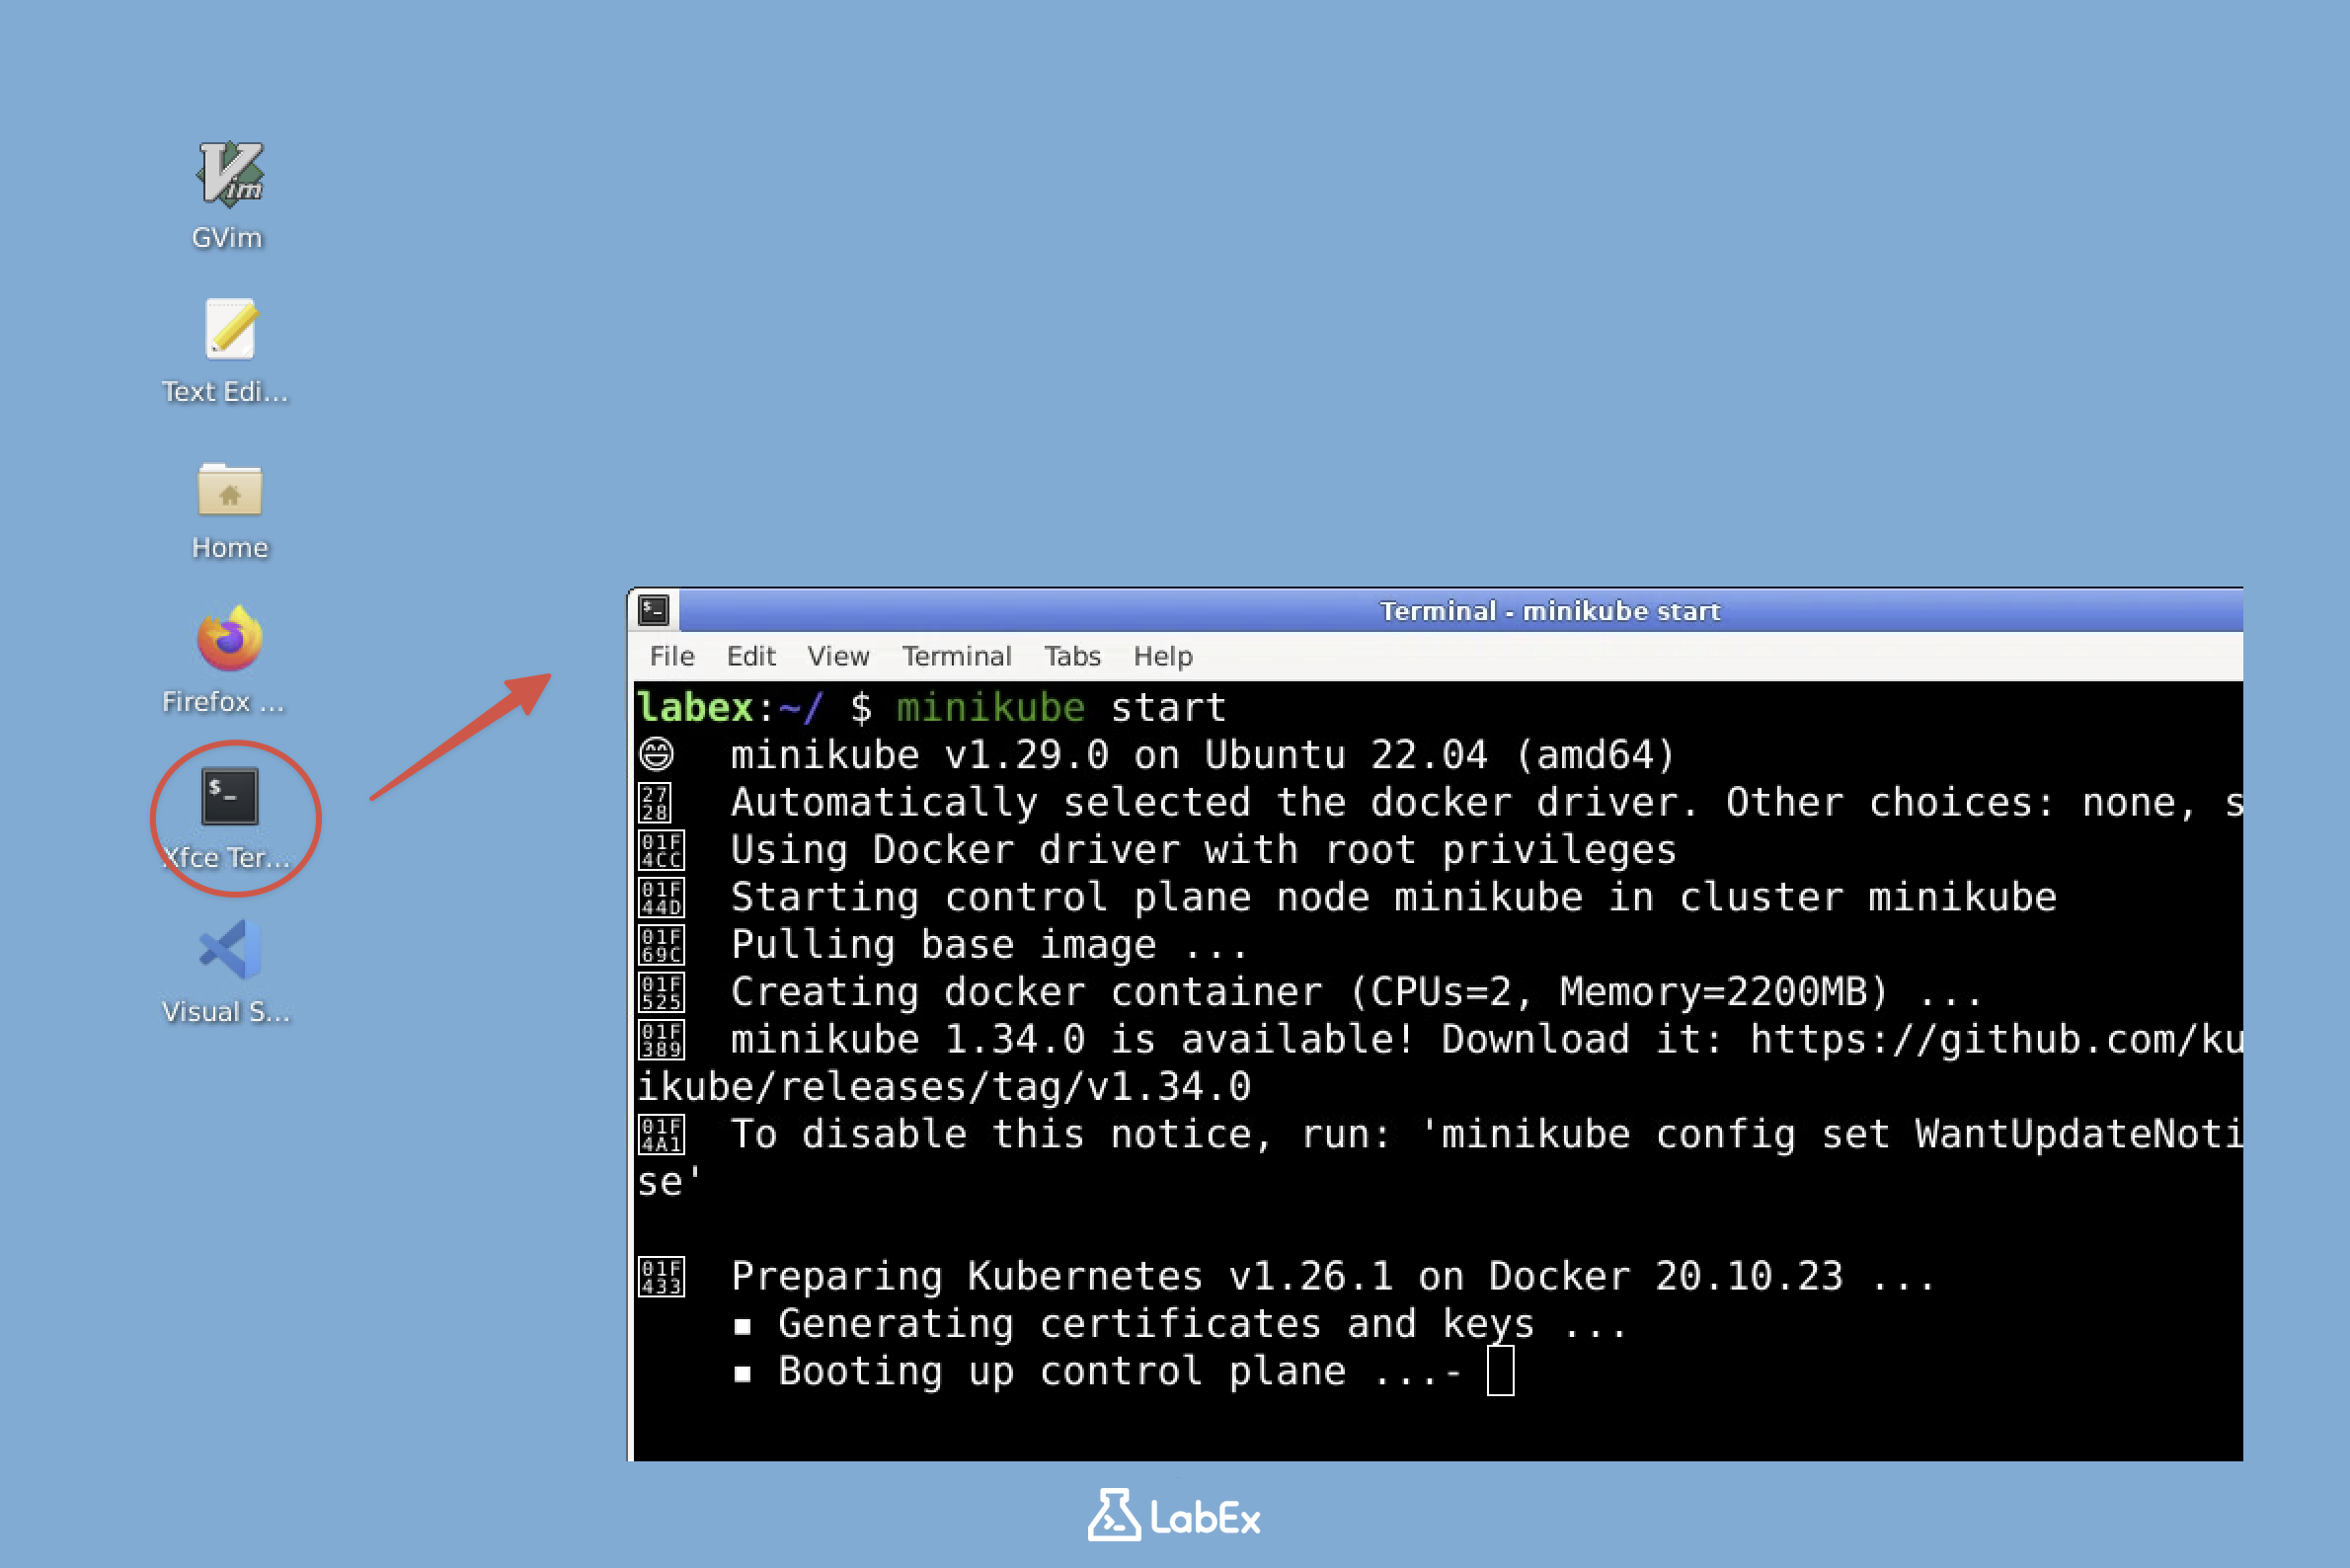
A Kubernetes cluster requires a running environment. In this lab, we will use Minikube, a tool that allows you to run a Kubernetes cluster locally. Follow these steps:
Open your terminal and ensure you are in the
/home/labex/projectdirectory:cd ~/projectStart the Minikube cluster:
minikube start- Minikube creates a single-node Kubernetes cluster.
- This process may take a few minutes, depending on your system. During initialization, various Kubernetes components will be set up.
Retrieve Basic Cluster Information
Once Minikube is running, use the kubectl cluster-info command to view information about the cluster. Run the following command:
kubectl cluster-info
- The API server URL is the main endpoint for interacting with your cluster.
- CoreDNS handles service discovery and DNS resolution within the cluster.
Example Output:
Kubernetes control plane is running at https://192.168.49.2:8443
CoreDNS is running at https://192.168.49.2:8443/api/v1/namespaces/kube-system/services/kube-dns:dns/proxy
- The
https://192.168.49.2:8443is the URL of the Kubernetes API server. This is where allkubectlcommands are sent. - The CoreDNS service helps Kubernetes resolve domain names for services and pods.
Inspect Cluster Components in Detail
To gain a deeper understanding of the cluster and its internal components, use:
kubectl cluster-info dump
This command provides detailed information about key components:
- etcd: A key-value store for all cluster data.
- kube-apiserver: The entry point for Kubernetes API requests.
- kube-scheduler: Assigns workloads (pods) to available nodes.
- kube-controller-manager: Maintains cluster state (e.g., ensures the desired number of pod replicas are running).
Example Output:
This command generates a verbose output detailing the configuration and status of Kubernetes system components. You can redirect the output to a file for easier analysis:
kubectl cluster-info dump > cluster-details.txt
This will save the output to cluster-details.txt in your current directory.
View Nodes in the Cluster
Nodes are the machines that run your workloads in Kubernetes. To list the nodes in your cluster, run:
kubectl get nodes
- The node name (e.g.,
minikube) identifies the machine. - The status (
Ready) indicates that the node is healthy and can run workloads. - In a Minikube cluster, the node acts as both the control plane and the worker node.
Example Output:
NAME       STATUS   ROLES           AGE   VERSION
minikube   Ready    control-plane   5m    v1.20.0
Test API Server Access
The API server is a critical component of the Kubernetes control plane. You can test its accessibility by running:
curl $(kubectl config view --minify -o jsonpath='{.clusters[0].cluster.server}') --insecure
- This command retrieves the API server URL and performs a simple request to it.
- The
--insecureflag bypasses SSL certificate verification, which is acceptable in this local setup.
Example Output:
If the API server is accessible, the response should look like this:
{
  "kind": "Status",
  "apiVersion": "v1",
  "metadata": {},
  "status": "Failure",
  "message": "forbidden: User \"system:anonymous\" cannot get path \"/\"",
  "reason": "Forbidden",
  "details": {},
  "code": 403
}
This response confirms the API server is running but denies access due to missing authentication, which is expected.
Summary
In this lab, you learned how to:
- Start a Kubernetes cluster with Minikube.
- Use
kubectl cluster-infoto retrieve cluster details. - Inspect cluster components in depth with
kubectl cluster-info dump. - List nodes in the cluster using
kubectl get nodes. - Test API server connectivity with a
curlcommand.
This hands-on experience provided a foundation for understanding and exploring Kubernetes clusters. These commands are essential for debugging and managing Kubernetes environments.
Next steps:
- Explore pods and workloads in Kubernetes.
- Learn how to create services to expose applications.
- Experiment with scaling workloads in a cluster.
Keep practicing, and happy learning!

