Introduction
In this lab, you will inspect how Jenkins runs inside a Docker container in the LabEx Jenkins environment. The Jenkins service is already installed, started, and available at http://localhost:8080, so you can focus on understanding the Docker deployment model instead of waiting for a fresh installation.
You will practice how to:
- Check that Docker is available on the host.
- Identify the running Jenkins container and image.
- Inspect the published ports used by Jenkins.
- Locate Jenkins home data inside the container.
- Read container logs and open the Jenkins web interface.
These are practical skills for operating Jenkins in Docker-based development and training environments.
Inspect the Docker Environment
In this step, you will confirm that Docker is available and that the Jenkins environment is running on top of Docker.
Open a terminal in the LabEx VM and check the Docker version:
docker --version
You should see output similar to this:
Docker version ...
Next, list the running containers:
docker ps
Look for a container named jenkins. This is the Jenkins controller used throughout the lab. The output contains several columns, but the important fields are the image name, the port mapping, and the container name:
CONTAINER ID   IMAGE                    ...   PORTS                  NAMES
...            jenkins/jenkins:latest   ...   0.0.0.0:8080->8080/tcp jenkins
The important evidence is the container name, image, and port mapping. You do not need to start or remove any containers in this lab.
Inspect the Jenkins Image
In this step, you will identify the Docker image used by the running Jenkins container.
Run the following command:
docker inspect jenkins --format '{{.Config.Image}}'
This prints the image name used to create the container. In this environment, it should show a Jenkins image:
jenkins/jenkins:latest
You can also list local images:
docker images jenkins/jenkins
The exact image ID and creation time can change, but the repository should be jenkins/jenkins:
REPOSITORY        TAG       IMAGE ID       CREATED       SIZE
jenkins/jenkins   latest    ...            ...           ...
This helps you connect the running service in the browser with the container image that provides Jenkins.
Inspect Jenkins Ports and Data
In this step, you will inspect the network ports and Jenkins home directory used by the container.
Jenkins uses port 8080 for the web interface. Check the published ports:
docker port jenkins
You should see port 8080 published on the host, similar to this:
8080/tcp -> 0.0.0.0:8080
8080/tcp -> :::8080
Now check the Jenkins home directory inside the container:
docker exec jenkins ls /var/jenkins_home
You should see Jenkins data such as jobs, plugins, logs, or configuration files:
config.xml
jobs
plugins
...
Jenkins keeps its configuration and job data in /var/jenkins_home, so this directory is the key location to back up or inspect when troubleshooting.
Read Jenkins Container Logs
In this step, you will read the Jenkins container logs. Logs are often the first place to check when Jenkins does not start or behaves unexpectedly.
Run:
docker logs --tail 30 jenkins
The output should include Jenkins startup or runtime messages. You may see the Jenkins version, plugin messages, or HTTP server startup logs.
The exact lines can vary, but the command should return recent logs from the running jenkins container.
Open the Jenkins Web Interface
In this step, you will connect the Docker container you inspected with the Jenkins web interface.
Open the Firefox browser from the Desktop interface. The browser opens Jenkins at:
http://localhost:8080
No login is required in this environment.
You should see the Jenkins dashboard.
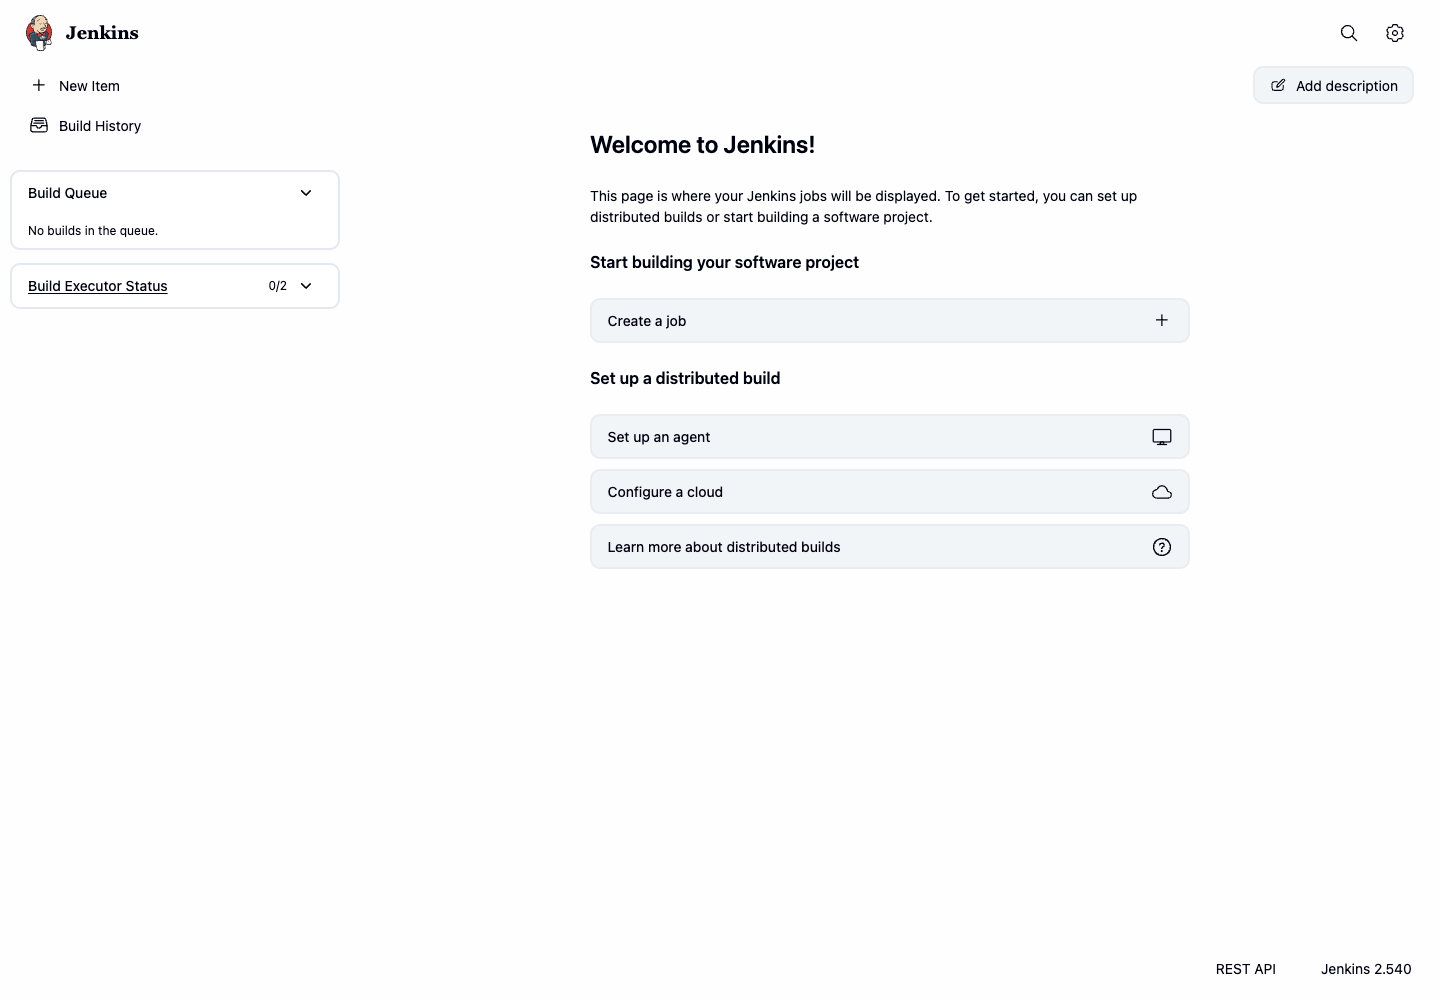
This confirms that the jenkins Docker container is serving the Jenkins web UI through port 8080.
Summary
In this lab, you inspected a running Jenkins deployment based on Docker.
You practiced how to:
- Confirm Docker is available.
- Identify the running Jenkins container.
- Inspect the Jenkins Docker image.
- Check port
8080exposure. - Inspect
/var/jenkins_home. - Read Jenkins container logs.
- Open the Jenkins web dashboard.
These skills help you understand and troubleshoot Docker-based Jenkins environments without rebuilding the controller from scratch.