
Introduction
In this project, you will learn how to create a Koala face using CSS grid layout. You will create the overall face structure, draw the eyes, nose, and blush elements to complete the Koala's facial features.
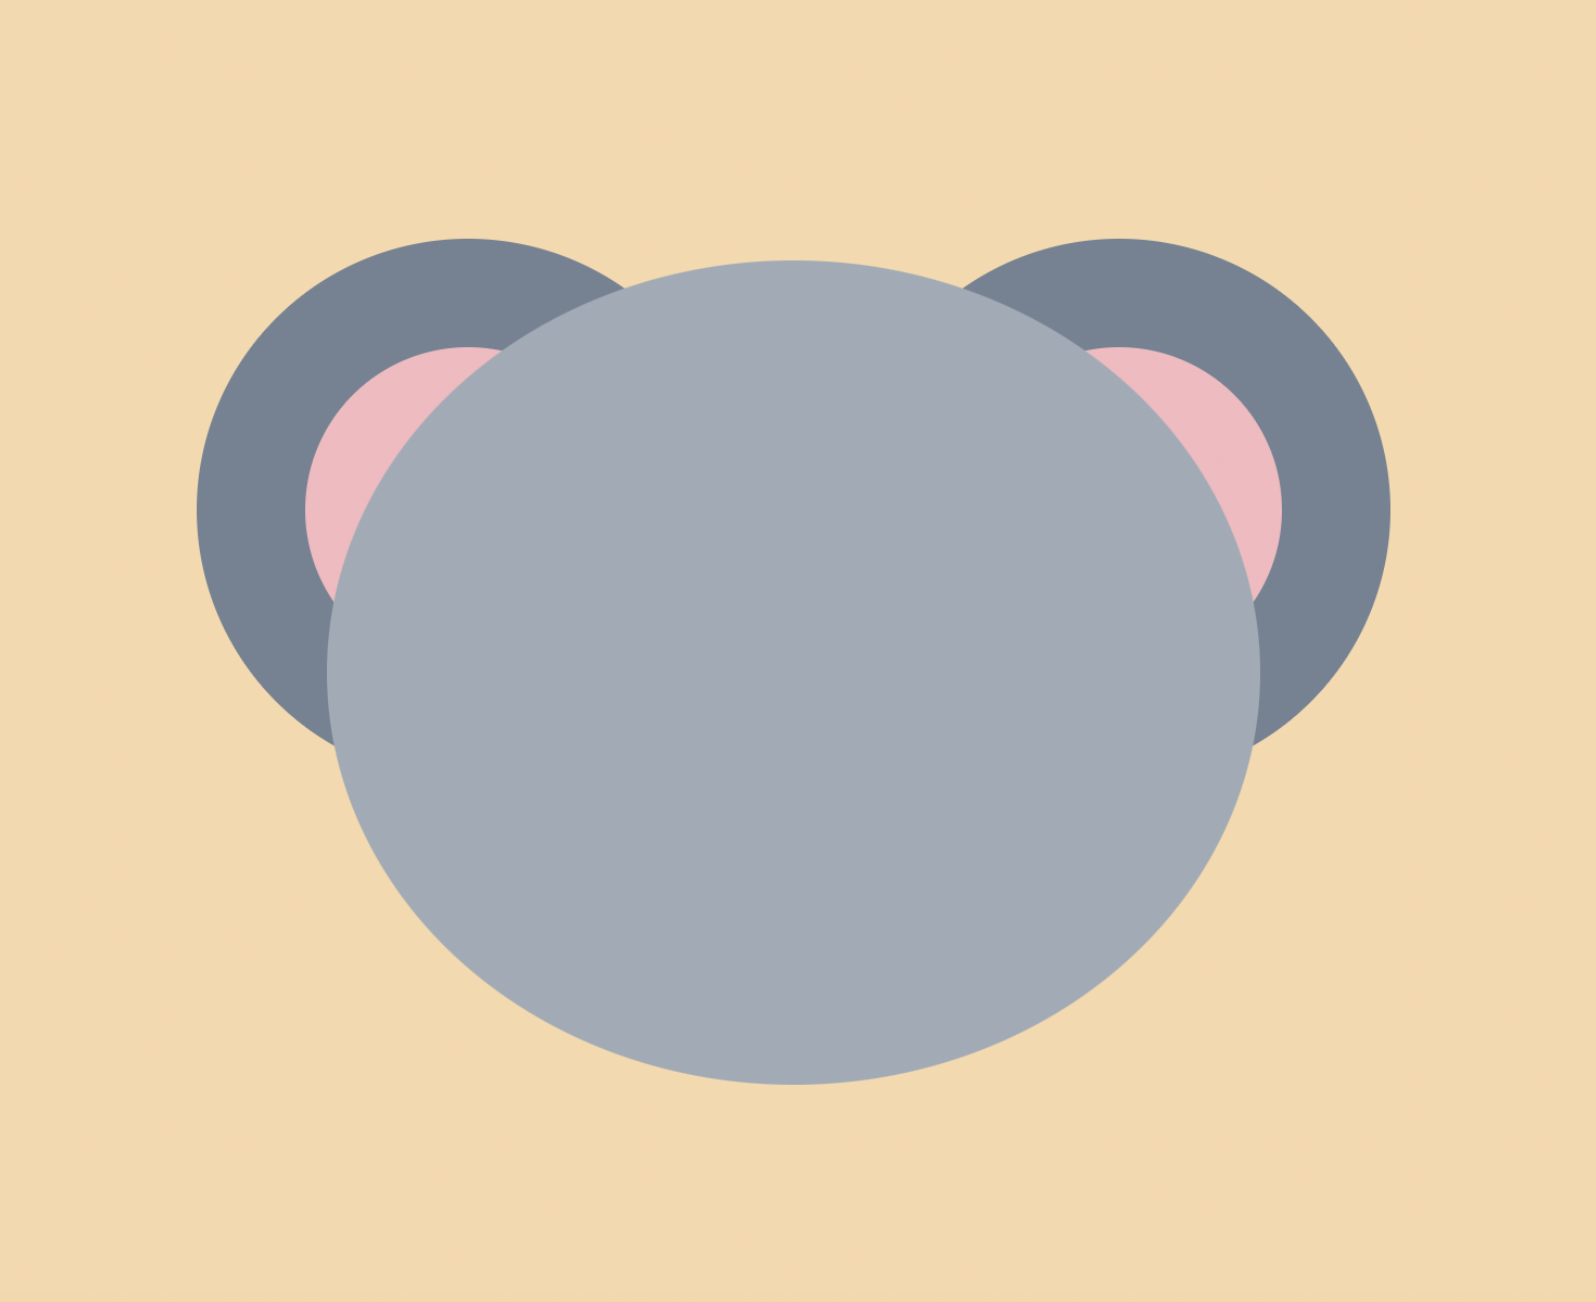
👀 Preview

🎯 Tasks
In this project, you will learn:
- How to set up a grid layout for the Koala face
- How to draw the eyes of the Koala
- How to draw the nose of the Koala
- How to draw the blush on the Koala's face
🏆 Achievements
After completing this project, you will be able to:
- Use CSS grid layout to create complex designs
- Position and style various elements within a grid
- Use CSS properties like
border-radiusandbackground-colorto create custom shapes and designs
Set Up the Project
In this step, you will set up the project and open the files in the editor.
Open the project folder, which contains the following files and directories:
├── styles.css
└── index.html
Here:
index.htmlis the main page.style.cssis the file where you need to add the required styles.
Click on Go Live button in the bottom right corner of WebIDE, to run the project.
Next, open "Web 8080" on the top of the VM and refresh it manually and you will see the page.
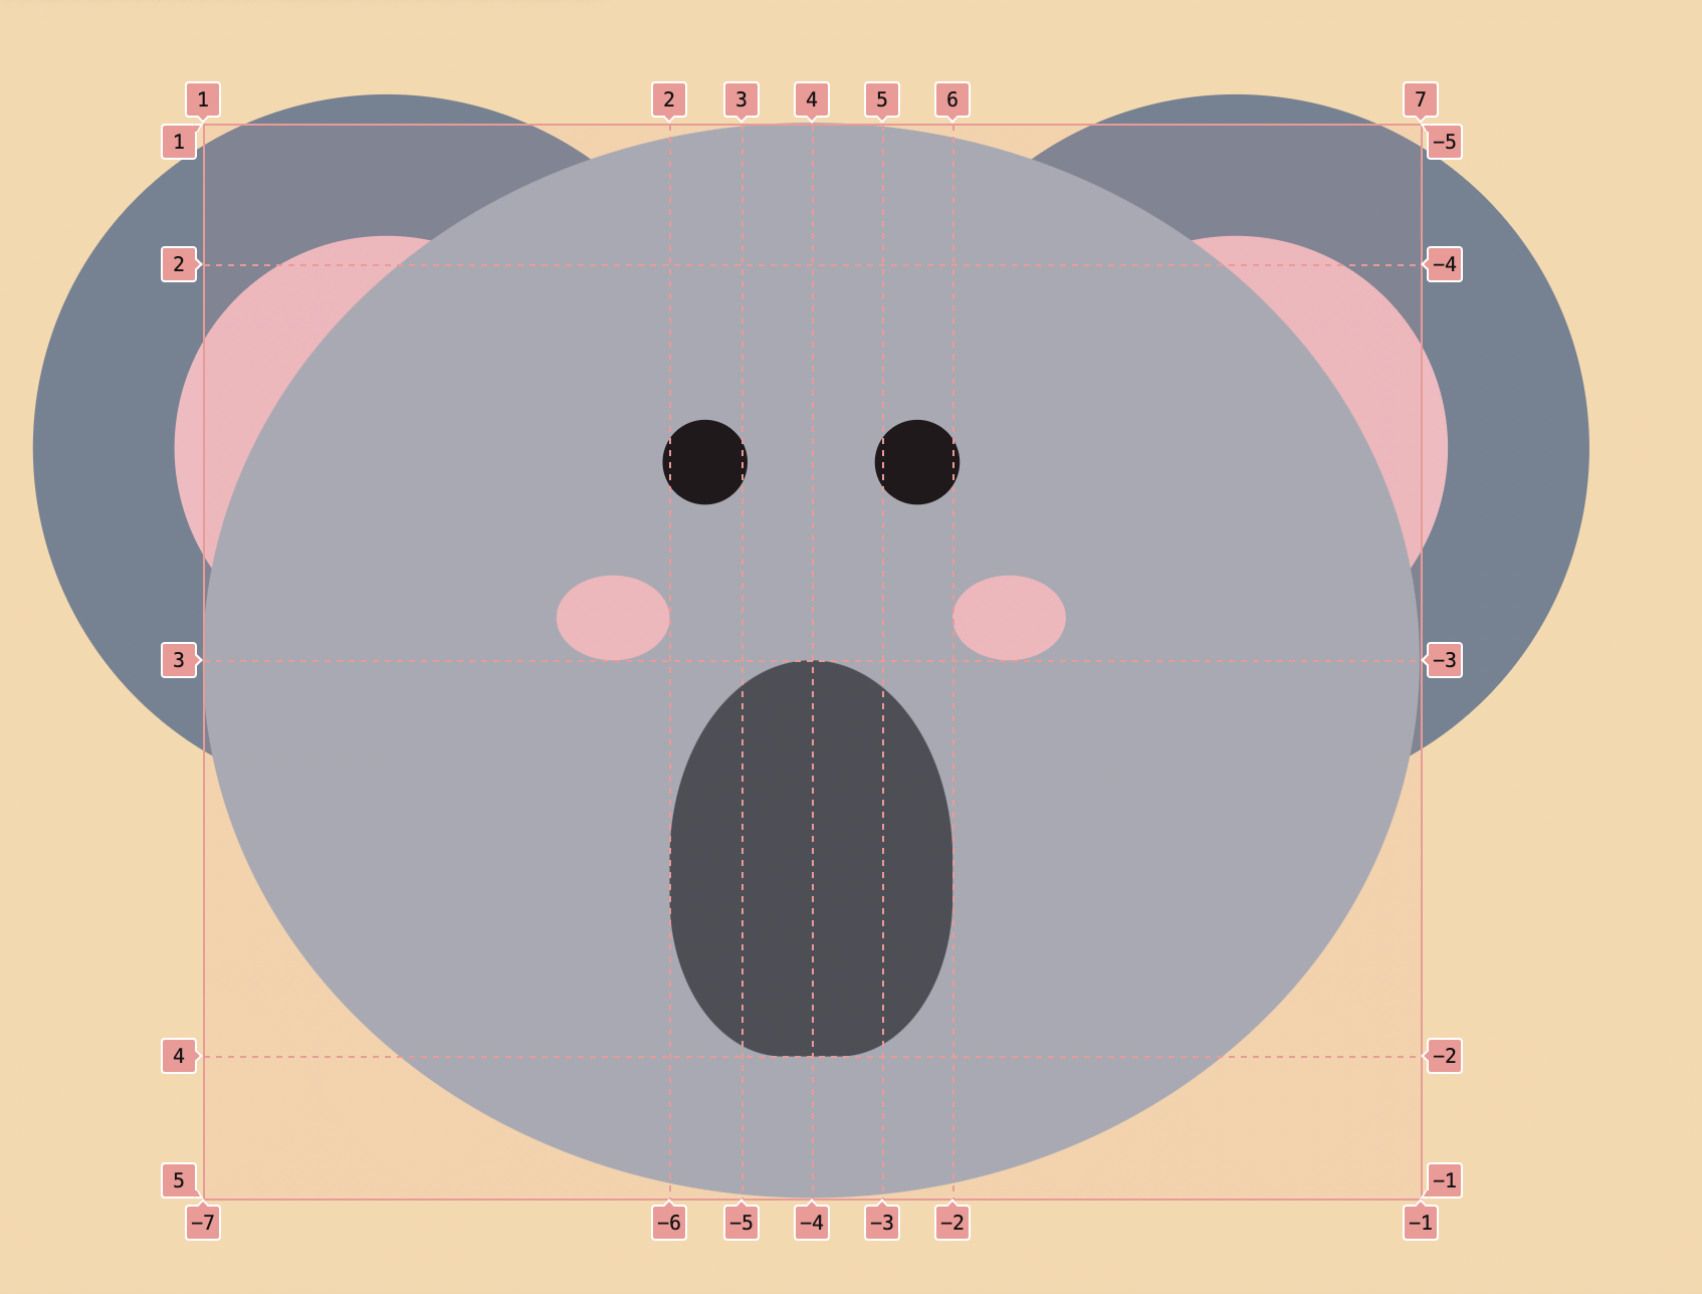
For the position of the parts of the koala's face, refer to the following grid drawing:
Set Up the Grid Layout
In this step, you will learn how to create a grid layout for the Koala face.
- Open the
styles.cssfile in your code editor. - Add the following CSS code to
.faceto create the grid layout:
.face {
  z-index: 1;
  width: 430px;
  height: 380px;
  background: #a0abb6;
  border-radius: 50%;
  display: grid;
  grid-template-columns: 1fr repeat(4, 25px) 1fr;
  grid-template-rows: 50px repeat(2, 1fr) 50px;
  align-items: center;
}
This code creates a grid layout with 6 columns and 4 rows. The front and back parts of the Koala face are represented by the two equal-width columns on the left and right, while the middle 4 columns are 25px wide. The top and bottom rows are 50px high, and the middle two rows are equal in height.
Draw the Eyes
In this step, you will learn how to draw the eyes of the Koala.
- Add the following CSS code to create the eyes:
.eye {
  width: 30px;
  height: 30px;
  background: #090b0e;
  border-radius: 50%;
  justify-self: center;
}

.eye.left {
  grid-area: 2/2/2/3;
}

.eye.right {
  grid-area: 2/5/2/6;
}
This code creates two circular eyes, each 30px wide and 30px high, with a dark color (#090b0e) and 50% rounded corners. The justify-self: center property centers the eyes horizontally within their grid cells. The grid-area properties position the left and right eyes in the correct grid cells.
Draw the Nose
In this step, you will learn how to draw the nose of the Koala.
- Add the following CSS code to create the nose:
.nose {
  background: #3b464f;
  border-radius: 50% 50% 40% 40%;
  height: 100%;
  grid-area: 3/2/3/6;
}
This code creates a nose-shaped element with a dark color (#3b464f) and rounded corners. The border-radius property gives the nose a rounded shape, with the top corners being 50% rounded and the bottom corners being 40% rounded. The height: 100% property makes the nose span the full height of its grid cell, and the grid-area property positions the nose in the correct grid cell.
Draw the Blush
In this step, you will learn how to draw the blush on the Koala's face.
- Add the following CSS code to create the blush:
.blush.left {
  grid-area: 2/1/3/2;
  align-self: end;
  justify-self: end;
}

.blush.right {
  align-self: end;
  grid-area: 2/6/3/7;
}
This code creates two circular blush elements, each 40px wide and 30px high, with a light pink color (#f6b9bf) and 50% rounded corners. The grid-area properties position the left and right blush elements in the correct grid cells, and the align-self and justify-self properties align the blush elements within their grid cells.
With these steps, you have now completed the Koala face drawing project. Congratulations!
The finished result is shown below:
Summary
Congratulations! You have completed this project. You can practice more labs in LabEx to improve your skills.


