
Introduction
In this lab, students will learn the fundamental skills of creating a basic HTML document structure and understanding essential HTML tags. The lab guides participants through setting up an HTML document with a proper DOCTYPE declaration, adding the HTML root tag, configuring the head section, and exploring different types of HTML tags.
Participants will start by creating an HTML5 document, learning how to declare the document type, structure the basic page layout, and understand the purpose of key elements like <html>, <head>, and <body>. By the end of the lab, students will have a comprehensive understanding of how to create a well-formed HTML document and use various HTML tags to structure web page content.
Set Up HTML Document with DOCTYPE Declaration
In this step, you'll learn how to set up the basic foundation of an HTML document by adding the DOCTYPE declaration. The DOCTYPE declaration is crucial as it tells web browsers which version of HTML your document is using, ensuring proper rendering and compatibility.
First, open the WebIDE and create a new file called index.html in the ~/project directory.
The DOCTYPE declaration for HTML5 is simple and straightforward. You'll add it as the very first line of your HTML document:
<!doctype html>
This declaration tells browsers that you're using HTML5, the latest version of HTML. It's case-insensitive, but the lowercase version is recommended for consistency and readability.
Let's create a complete basic HTML document structure with the DOCTYPE declaration:
<!doctype html>
<html lang="en">
  <head>
    <meta charset="UTF-8" />
    <title>My First HTML Page</title>
  </head>
  <body>
    <h1>Welcome to HTML!</h1>
  </body>
</html>
Notes: Learn more about How to preview HTML files in the WebIDE.
Example output in the browser would display:
Welcome to HTML!
Key points to remember:
- The DOCTYPE declaration must be the first line in your HTML document
- It helps browsers understand which version of HTML you're using
- For modern web development, use
<!DOCTYPE html>for HTML5 - The declaration is not an HTML tag; it's an instruction to the browser
Add HTML Root Tag and Basic Structure
In this step, you'll learn about the fundamental structure of an HTML document, focusing on the HTML root tag and the basic document structure. The <html> tag is the container for all other HTML elements and serves as the root element of an HTML page.
Open the index.html file you created in the previous step in the WebIDE. Let's expand on the previous HTML structure by adding the complete root tag and its essential components:
<!doctype html>
<html lang="en">
  <head>
    <meta charset="UTF-8" />
    <title>My First HTML Page</title>
  </head>
  <body>
    <h1>Welcome to HTML Structure</h1>
    <p>This is the basic structure of an HTML document.</p>
  </body>
</html>
Let's break down the key components:
<html>tag: The root element that wraps all other HTML contentlang="en"attribute: Specifies the language of the document (English in this case)- Two main child elements:
<head>: Contains metadata about the document<body>: Contains the visible content of the web page
Example output in a web browser would look like:
Welcome to HTML Structure
This is the basic structure of an HTML document.
Key points to remember:
- Every HTML document must have an
<html>root tag - The
langattribute helps with accessibility and search engine optimization - The document is divided into
<head>and<body>sections - Proper nesting of tags is crucial for valid HTML
Configure Head Section with Meta and Title Tags
In this step, you'll learn about the <head> section of an HTML document and how to use meta tags and title tags to provide important information about your web page.
Open your index.html file in the WebIDE and update the <head> section with the following example:
<!doctype html>
<html lang="en">
  <head>
    <meta charset="UTF-8" />
    <meta name="viewport" content="width=device-width, initial-scale=1.0" />
    <meta name="description" content="A simple HTML learning page" />
    <title>My HTML Learning Journey</title>
  </head>
  <body>
    <h1>Welcome to HTML Metadata</h1>
    <p>This page demonstrates head section configuration.</p>
  </body>
</html>
Let's break down the key meta tags and their purposes:
<meta charset="UTF-8">: Specifies the character encoding for the document<meta name="viewport">: Ensures proper rendering on different devices<meta name="description">: Provides a brief page description for search engines<title>: Sets the page title displayed in the browser tab
Example output in a browser tab:
My HTML Learning Journey
Key points to remember:
- The
<head>section contains metadata about the HTML document - Meta tags provide additional information to browsers and search engines
- The
<title>tag is crucial for page identification and SEO - Always include character encoding and viewport meta tags
Understand Single and Double HTML Tags
In this step, you'll learn about the two types of HTML tags: single (self-closing) tags and double tags. Understanding the difference between these tags is crucial for creating well-structured HTML documents.
Open your index.html file in the WebIDE and update the body section with the following example:
<!doctype html>
<html lang="en">
<head>
<meta charset="UTF-8" />
<title>HTML Tags Exploration</title>
</head>
<body>
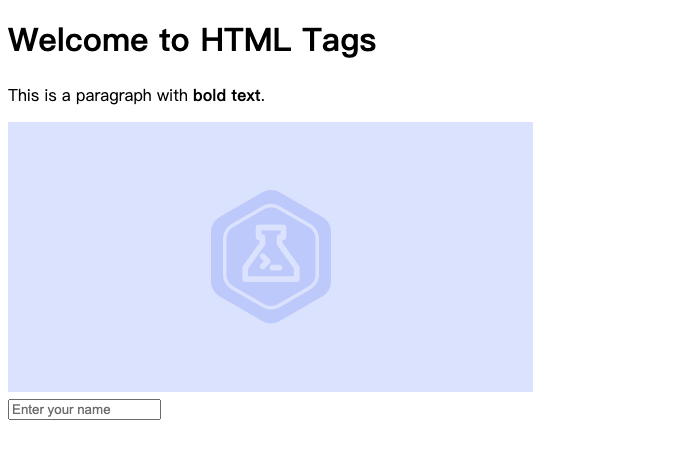
<!-- Double Tags (Opening and Closing) -->
<h1>Welcome to HTML Tags</h1>
<p>This is a paragraph with <strong>bold text</strong>.</p>
<!-- Single (Self-Closing) Tags -->
<img src="example.jpg" alt="Example Image" />
<br />
<input type="text" placeholder="Enter your name" />
</body>
</html>
Let's break down the different types of tags:
Double Tags (Paired Tags):
- Have an opening tag
<tag>and a closing tag</tag> - Content is placed between the opening and closing tags
- Examples:
<h1>,<p>,<strong>,<div>
Single Tags (Self-Closing Tags):
- Do not have a separate closing tag
- Close themselves within the tag
- Examples:
<img>,<br>,<input>
Example output in a browser would display:
Welcome to HTML Tags
This is a paragraph with bold text.
[An image would be displayed here]
[A text input field would be shown]
Key points to remember:
- Double tags wrap content and require both opening and closing tags
- Single tags are self-contained and do not wrap content
- Always close double tags to maintain proper HTML structure
- Some single tags can have attributes to provide additional information
Explore Body Tag and Page Content Placement
In this step, you'll learn about the <body> tag and how to structure content within an HTML document. The body tag is where all visible content of a web page is placed.
Open your index.html file in the WebIDE and update the body section with the following example:
<!doctype html>
<html lang="en">
<head>
<meta charset="UTF-8" />
<title>Content Placement Example</title>
</head>
<body>
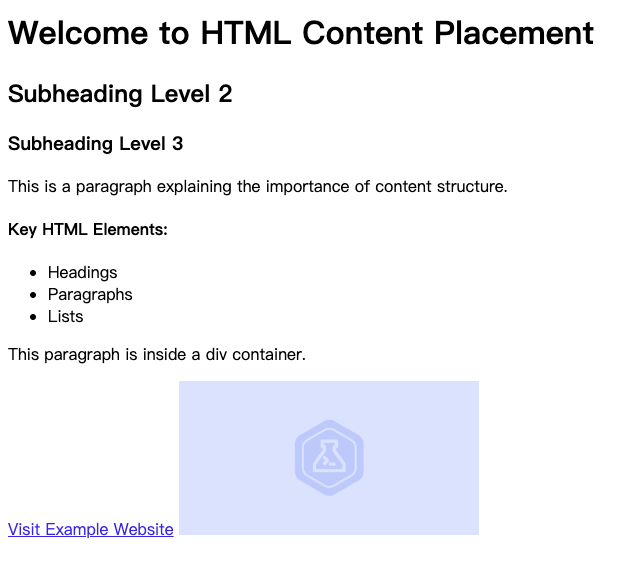
<!-- Headings -->
<h1>Welcome to HTML Content Placement</h1>
<h2>Subheading Level 2</h2>
<h3>Subheading Level 3</h3>
<!-- Paragraphs -->
<p>This is a paragraph explaining the importance of content structure.</p>
<!-- Lists -->
<h4>Key HTML Elements:</h4>
<ul>
<li>Headings</li>
<li>Paragraphs</li>
<li>Lists</li>
</ul>
<!-- Div for grouping content -->
<div>
<p>This paragraph is inside a div container.</p>
</div>
<!-- Links and Images -->
<a href="https://example.com">Visit Example Website</a>
<img src="example.jpg" alt="Example Image" width="300" />
</body>
</html>
Example output in a browser would display:
Key points to remember:
- The
<body>tag contains all visible page content - Use heading tags (
<h1>to<h6>) to create content hierarchy - Paragraphs, lists, and other elements help organize information
<div>tags can group and structure content- Include links and images to enhance page interactivity
Summary
In this lab, participants learned the fundamental steps of creating a basic HTML document structure. The process began with setting up the DOCTYPE declaration, which is crucial for ensuring proper browser rendering and compatibility with HTML5. Learners explored the essential HTML tags, including the root <html> tag, <head>, and <body> sections, understanding their specific roles in document organization.
The lab guided students through creating a complete HTML document, demonstrating how to add meta tags, set the character encoding, define a page title, and place content within the body tag. Participants gained practical experience in constructing a well-structured HTML page, learning key concepts such as single and double HTML tags, proper tag nesting, and the importance of semantic markup in web development.


